
How to Grow Vegetables in Ten Gallon Grow Bags: Space-Saving Solutions for Bountiful Harvests
Intro for growing vegetables in ten gallon grow bags
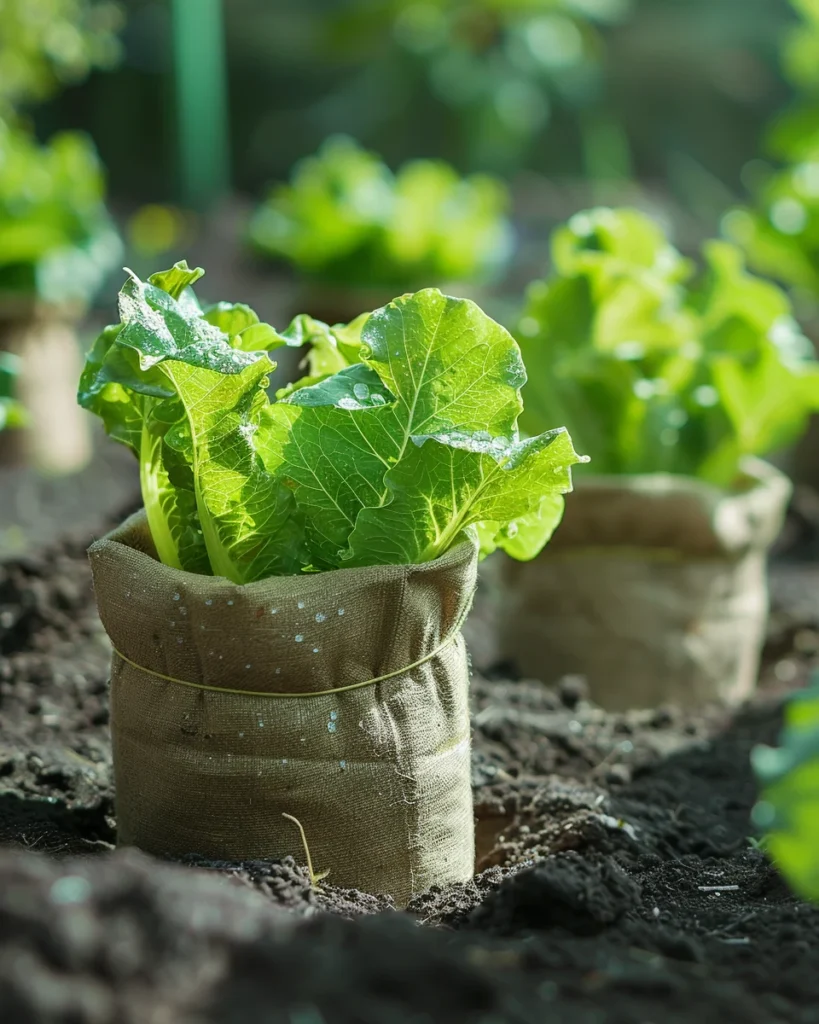
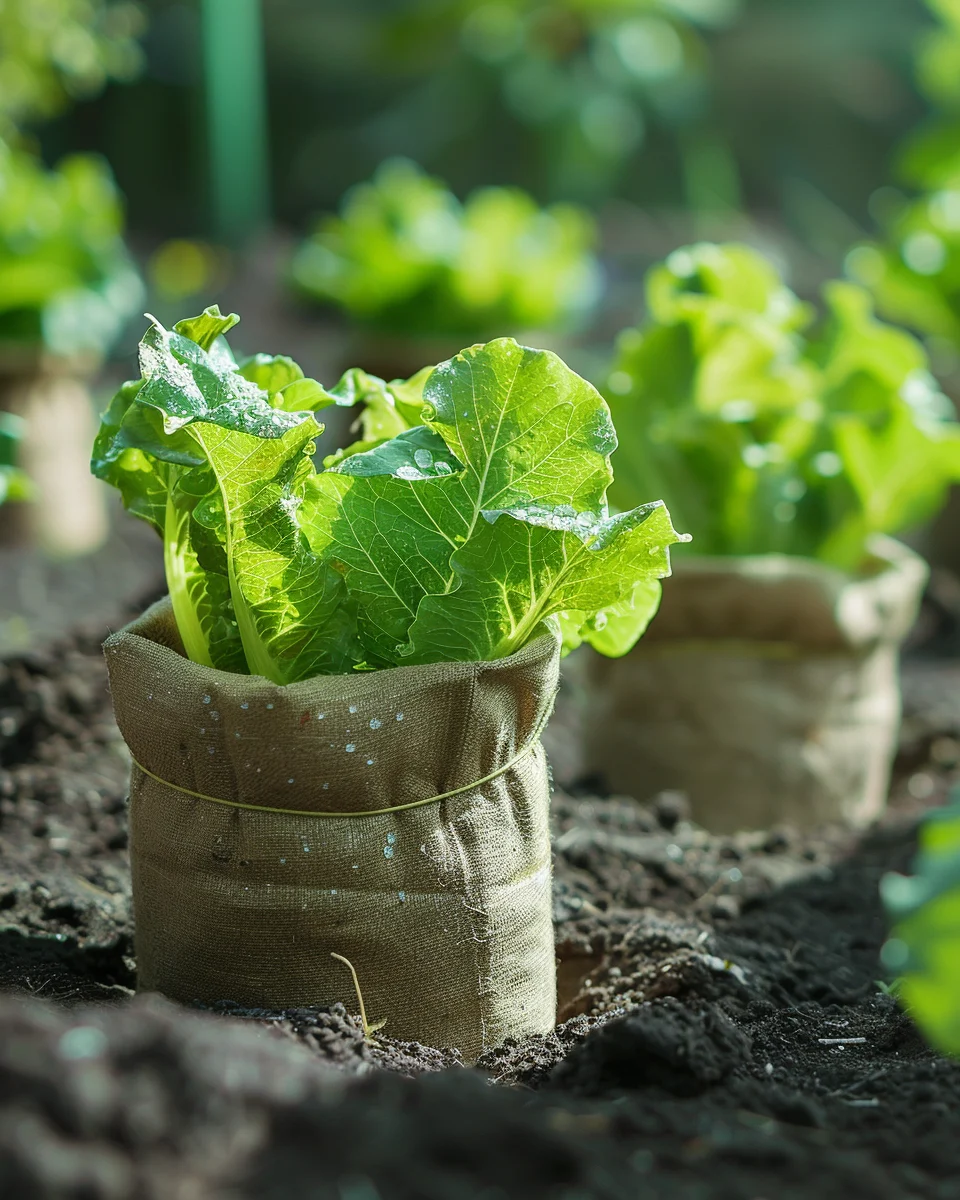
Ten gallon grow bags offer an excellent solution for gardeners with limited space or poor soil conditions. These portable fabric containers provide the perfect environment for growing a wide variety of vegetables, from tomatoes and peppers to lettuce and carrots. The porous fabric promotes healthy root systems through air pruning, prevents root circling, and ensures proper drainage. Grow bags are particularly beneficial for urban gardeners, renters, or anyone wanting to maximize growing space on patios, balconies, or small yards. With minimal investment and setup, you can create a productive vegetable garden that’s flexible, manageable, and capable of producing impressive harvests.
When to plant vegetables in ten gallon grow bags
The timing for planting vegetables in ten gallon grow bags follows the same seasonal patterns as traditional garden beds, but with added flexibility. In general temperate regions, cool-season crops like lettuce, spinach, and peas can be planted when soil temperatures reach 5-10°C (40-50°F), typically in early spring or fall. Warm-season vegetables such as tomatoes, peppers, and cucumbers should wait until soil temperatures consistently stay above 15°C (60°F) and all danger of frost has passed. The beauty of grow bags is that you can start earlier by moving bags to protected areas during cold snaps or extending your season by relocating bags to capture maximum sunlight as the seasons change.
Best time to plant vegetables in ten gallon grow bags
For cool temperate regions (UK, Northern US, Canada), plant cool-season vegetables in grow bags from March to April and again in August to September. Warm-season crops should be planted from May to June after the last frost date. In warmer regions (US Zones 8-10, Mediterranean climates), cool-season vegetables grow best from September through February, while warm-season crops can be planted from March through July. Direct sowing works well for root vegetables, beans, and leafy greens, while tomatoes, peppers, and eggplants benefit from being started indoors 6-8 weeks before transplanting into grow bags. The insulating properties of fabric grow bags mean soil warms faster than in-ground gardens, often allowing for earlier planting.
Best vegetable varieties to grow in ten gallon grow bags
- Bush ‘Patio Princess’ Tomato – Compact determinate variety bred specifically for containers, producing full-sized fruits on plants that reach only 60-90 cm (2-3 ft).
- ‘Spacemaster’ Cucumber – Bush-type cucumber with short vines (60-90 cm/2-3 ft) that produces well without requiring extensive trellising.
- ‘Fairy Tale’ Eggplant – Compact plants produce clusters of elongated, purple-striped fruits perfect for container growing.
- ‘Redskin’ Potato – Early maturing variety that performs exceptionally well in the confined space of grow bags with high yields.
- ‘Little Gem’ Lettuce – Small, compact romaine-type lettuce ideal for successive plantings in grow bags.
- ‘Thumbelina’ Carrot – Round, sweet carrots that mature quickly and don’t require the deep soil that traditional varieties need.
- ‘Bush Blue Lake’ Green Beans – Productive bush variety that doesn’t require staking and produces tender pods over a long season.
- ‘Astia’ Zucchini – Compact bush variety developed specifically for container growing with impressive yields.
How to plant vegetables in ten gallon grow bags
Materials needed:
- Ten gallon fabric grow bags
- High-quality potting mix (not garden soil)
- Compost or slow-release organic fertilizer
- Seeds or seedlings
- Watering can or hose with gentle spray nozzle
- Trowel
- Plant labels
Step-by-step planting instructions:
- Position your empty grow bags in their final location before filling, as they become heavy and difficult to move when full.
- Ensure your chosen location receives appropriate sunlight for your selected vegetables (6-8 hours minimum for most vegetables).
- Unfold and shape the grow bag, making sure the sides are fully extended.
- Fill the bag with high-quality potting mix to about 2.5 cm (1 inch) below the rim, mixing in compost or slow-release organic fertilizer according to package directions.
- Gently firm the soil but avoid compacting it too much, as good aeration is important.
- For direct sowing, create furrows or holes at the depth recommended on the seed packet (generally 2-3 times the seed diameter).
- For transplants, dig holes large enough to accommodate the root ball, typically 10-15 cm (4-6 inches) wide and deep.
- Place seeds or transplants in the grow bag following spacing guidelines (generally, plant fewer plants per bag than recommended for in-ground spacing).
- Cover seeds with soil or place transplants so their lowest leaves are just above soil level, then firm soil gently around plants.
- Water thoroughly until water drains from the bottom of the bag, ensuring the entire soil volume is moistened.
How to grow vegetables in ten gallon grow bags
Vegetables in ten gallon grow bags require consistent attention to thrive. Position your bags to receive 6-8 hours of sunlight daily, with some afternoon shade in hot climates. Watering is crucial as grow bags dry out faster than in-ground gardens—check moisture levels daily by inserting your finger 5 cm (2 inches) into the soil. Most vegetables need watering when the top inch feels dry, typically every 1-2 days during hot weather and every 2-3 days in cooler conditions. Consider installing drip irrigation for consistent moisture.
Fertilize regularly as nutrients leach out with frequent watering. Apply a balanced liquid fertilizer every 2-3 weeks or incorporate slow-release fertilizer at planting time and mid-season. Mulch the soil surface with straw or compost to retain moisture and regulate soil temperature. For taller plants like tomatoes and peppers, install stakes or cages at planting time to avoid disturbing roots later. Grow bags work best with one tomato plant, 2-3 pepper plants, 4-5 lettuce plants, or 8-10 carrots per ten gallon bag, depending on the vegetable size.
Caring for vegetables in ten gallon grow bags
Regular maintenance ensures healthy vegetables in grow bags. Check plants daily during hot weather for signs of water stress. Rotate bags occasionally to prevent uneven growth if plants are reaching for sunlight. Common pests include aphids, which can be controlled with a strong spray of water or insecticidal soap; slugs, deterred by copper tape around bags; and fungal diseases, prevented by avoiding overhead watering and ensuring good air circulation between plants.
Harvest timing varies by vegetable: pick leafy greens when leaves are young and tender; harvest root vegetables when they reach desired size; and collect fruiting vegetables like tomatoes and peppers when they develop full color. Most vegetables grown in bags can be harvested continuously throughout the season by picking mature produce regularly to encourage continued production. At season’s end, empty bags and allow them to dry completely before folding for storage. Grow bag soil can be reused for 2-3 seasons if refreshed with compost and fertilizer between plantings.
Understanding bolting in leafy vegetables in grow bags
Bolting occurs when leafy vegetables like lettuce, spinach, and herbs prematurely produce flowering stems, making the leaves bitter and tough. In grow bags, bolting can happen more quickly due to temperature fluctuations, as the confined soil volume heats up faster than ground soil. The primary triggers include high temperatures (above 27°C/80°F), increasing day length in late spring, and stress from inconsistent watering. To prevent bolting, position grow bags in areas that receive morning sun but afternoon shade during hot weather, maintain consistent moisture, and select bolt-resistant varieties like ‘Nevada’ lettuce or ‘Bloomsdale’ spinach. If bolting begins, harvest immediately and consume the leaves before they become too bitter, then replant with heat-tolerant varieties or switch to warm-season crops.
Why do vegetables in grow bags turn bitter?
- Heat stress – Grow bags can overheat in direct sun; move to partial shade during hottest part of day or use light-colored bags that reflect heat.
- Inconsistent watering – Fluctuations between drought and overwatering cause stress; maintain even moisture with regular watering or drip irrigation.
- Nutrient imbalance – Excessive nitrogen can cause bitterness; use balanced fertilizers and follow recommended application rates.
- Age of plant – Many vegetables become bitter as they mature past prime harvest stage; pick regularly at optimal size.
- Variety selection – Some varieties naturally have stronger flavors; choose varieties bred for container growing and mild flavor.
Companion planting for vegetables in ten gallon grow bags
While space is limited in ten gallon grow bags, strategic companion planting can maximize yields and reduce pest problems:
Beneficial combinations:
- Tomatoes + Basil: Basil repels tomato hornworms and improves tomato flavor while utilizing vertical space.
- Carrots + Onions: Onions deter carrot fly, while carrots repel onion pests, creating mutual protection.
- Lettuce + Radishes: Fast-growing radishes mark rows of slower-germinating lettuce and utilize space before lettuce matures.
- Cucumbers + Nasturtiums: Nasturtiums repel cucumber beetles and attract pollinators while covering soil surface.
- Peppers + Marigolds: Marigolds deter nematodes and other soil pests that affect peppers.
Combinations to avoid:
- Potatoes + Tomatoes: Both are in the same family and share diseases and pests.
- Beans + Onions/Garlic: Alliums inhibit bean growth.
- Cucumbers + Potatoes: Compete for nutrients and increase susceptibility to blight.
Seasonal calendar
- January-February: Plan garden, purchase seeds and grow bags, start slow-growing seedlings indoors (peppers, tomatoes).
- March: Start warm-season seedlings indoors, direct sow cold-hardy vegetables (spinach, peas) in grow bags in mild regions.
- April: Direct sow cool-season crops (lettuce, radishes, carrots), prepare grow bags for warm-season vegetables.
- May: Transplant warm-season seedlings after last frost, harvest early cool-season crops, fertilize established plants.
- June: Continue succession planting of quick-growing vegetables, monitor watering closely as temperatures rise.
- July: Harvest warm-season crops, provide shade for grow bags during extreme heat, start seeds for fall crops.
- August: Plant fall crops (lettuce, spinach, kale), continue harvesting summer vegetables, refresh soil in emptied bags.
- September: Harvest remaining summer crops, plant quick-growing cool-season vegetables, protect from early frosts.
- October: Harvest fall crops, plant garlic and overwintering crops in mild regions, prepare grow bags for winter.
- November-December: Harvest cold-hardy vegetables, clean and store empty grow bags, plan for next season.
Problems & solutions
| Problem | Quick Fix |
|---|---|
| Grow bags drying out too quickly | Apply 2.5 cm (1 inch) mulch layer on soil surface; group bags together to reduce evaporation; consider self-watering reservoirs. |
| Poor drainage/waterlogged soil | Ensure bags are on raised surfaces (not flat on concrete); check that drainage holes aren’t blocked; improve soil mix with more perlite. |
| Stunted growth | Apply balanced liquid fertilizer weekly at half strength; check for root binding; ensure adequate sunlight. |
| Bags tipping over | Place bags inside sturdy containers; group multiple bags together; use stakes or cages for top-heavy plants. |
| Fabric deteriorating | Purchase UV-resistant bags; store bags indoors during off-season; rotate bags so all sides receive equal sun exposure. |
| Heat stress in summer | Move bags to afternoon shade; use light-colored bags; wrap dark bags in reflective material; group bags to shade each other. |
| Cold damage in winter | Move bags to protected areas; group together and insulate with straw bales; wrap bags with bubble wrap or horticultural fleece. |
Common questions about growing vegetables in ten gallon grow bags
How often should I water vegetables in ten gallon grow bags?
Check moisture daily by inserting your finger 5 cm (2 inches) into the soil. Most vegetables need watering when the top inch feels dry—typically every 1-2 days in hot weather and every 2-3 days in cooler conditions. Morning watering is best.
How many plants can I grow in one ten gallon grow bag?
This varies by vegetable: plant one tomato, cucumber, or zucchini; two to three pepper or eggplants; four to five lettuce or spinach plants; or eight to ten carrots or radishes per ten gallon bag.
Do vegetables in grow bags need more fertilizer than in-ground plants?
Yes, frequent watering leaches nutrients from grow bags more quickly. Apply liquid fertilizer every 2-3 weeks at half the recommended strength, or use slow-release fertilizer at planting time and refresh mid-season.
Can I reuse the soil in grow bags for next season?
Yes, but refresh it first. Remove about one-third of the old soil, add fresh compost and a slow-release organic fertilizer, then mix thoroughly. Completely replace soil every 2-3 years or if disease problems occurred.
How do I prevent my grow bags from getting too hot in summer?
Use light-colored bags that reflect heat, position bags where they receive morning sun but afternoon shade, group bags together to shade each other, and maintain consistent moisture levels. Adding a light-colored mulch on the soil surface also helps.
Can I grow root vegetables successfully in ten gallon grow bags?
Absolutely! Ten gallon bags provide adequate depth for most root vegetables. Choose varieties bred for containers, like round carrots (‘Paris Market’), small beets (‘Baby Ball’), or compact radishes. Ensure consistent moisture for smooth, even development.
Do I need to bring my grow bags indoors during winter?
It depends on your climate and what you’re growing. In regions with freezing winters, empty and store bags if not in use. For overwintering crops in mild climates, bags can remain outdoors but should be protected from extreme cold with insulation or moved to sheltered locations.