

How to Set Up a DIY Rain Barrel: Harvest Free Garden Water with a Simple System
Intro for Turn Rain into Free Garden Water DIY Barrel Setup Made Simple
A rain barrel system is an eco-friendly solution that collects and stores rainwater from your roof for later use in your garden. This sustainable practice not only reduces your water bill but also provides plants with natural, unchlorinated water they prefer. Rain barrels are particularly valuable during dry spells or in regions with watering restrictions. With just a few basic materials and tools, you can create an efficient water harvesting system that connects to your downspout. A single 55-gallon (208-liter) barrel can fill completely during just one moderate rainfall, providing free irrigation for weeks of gardening.
When to plant Turn Rain into Free Garden Water DIY Barrel Setup Made Simple
Install your rain barrel system during the dry season or early spring before heavy rainfall begins. This timing allows you to set up your system when downspouts are relatively dry, making modifications easier and safer. In temperate regions, late spring to early summer (May-June) is ideal as you can prepare for summer watering needs. For areas with distinct wet and dry seasons, install at the beginning of the dry period to maximize collection during occasional rains. Ensure installation is complete before frost in colder regions, as freezing water can damage barrels and fittings.
Best time to plant Turn Rain into Free Garden Water DIY Barrel Setup Made Simple
For cool temperate regions (US Zones 3-6, UK), install rain barrels in late April to May when frost risk diminishes and before summer rains begin. In warm temperate areas (US Zones 7-9, Mediterranean), February to April installation takes advantage of spring rains before the dry summer months. For hot regions with monsoon seasons, set up 1-2 months before expected heavy rainfall periods. If you’re direct-connecting to downspouts, choose a dry day when no rain is forecast for 48 hours to allow sealants and connections to cure properly.
Best Turn Rain into Free Garden Water DIY Barrel Setup Made Simple varieties to grow
• Food-Grade Plastic Barrels – Most durable and safest for water collection, typically blue or white in color with no harmful chemical residue.
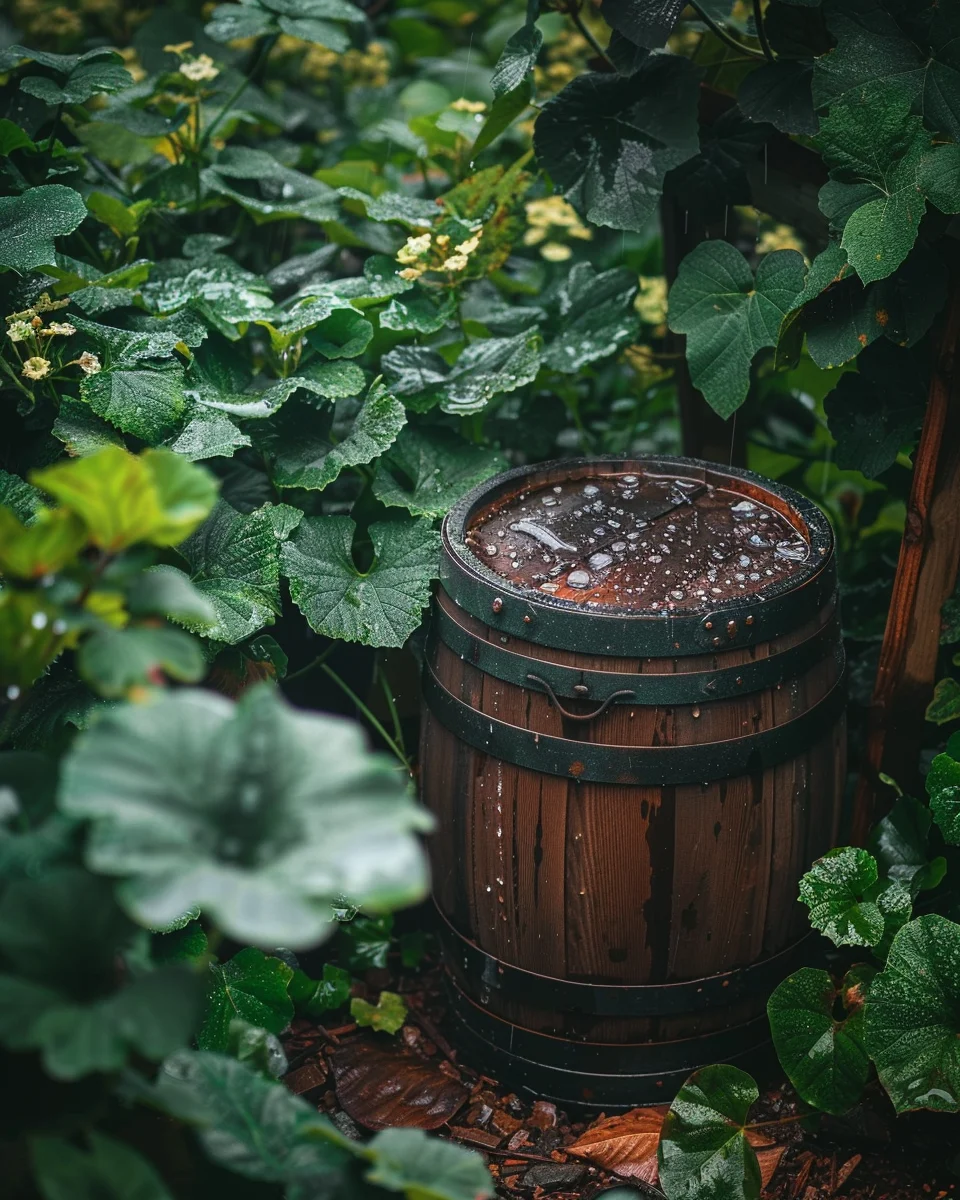
• Decorative Rain Barrels – Designed to look like terracotta or wooden barrels while being lightweight plastic, perfect for visible locations.
• Slim-Profile Barrels – Ideal for narrow spaces between houses or along fence lines, typically holding 40-50 gallons.
• Linked Barrel Systems – Allow multiple barrels to connect and fill sequentially, maximizing collection capacity.
• Repurposed Barrels – Cost-effective option using food-grade drums or barrels that previously contained non-toxic substances.
• Collapsible Rain Barrels – Can be stored flat during winter months in regions with freezing temperatures.
How to plant Turn Rain into Free Garden Water DIY Barrel Setup Made Simple
Materials list:
– 55-gallon food-grade plastic barrel
– Downspout diverter kit
– Spigot/faucet kit (3/4-inch recommended)
– Overflow fitting (1-inch or larger)
– Drill with hole saw attachments
– Teflon tape
– Concrete blocks or sturdy platform
– Mosquito screen
– Silicone sealant
– Hose adapter
Step-by-step:
1. Select a level location near a downspout where water naturally flows from your roof.
2. Create a raised platform using concrete blocks or a sturdy stand at least 12 inches (30 cm) high to increase water pressure.
3. Clean the barrel thoroughly if repurposed, rinsing multiple times to remove any residue.
4. Drill a hole near the bottom of the barrel (2-3 inches up) for the spigot using the appropriate-sized hole saw.
5. Install the spigot by inserting it through the hole, securing with washers on both sides, and sealing with silicone.
6. Drill a hole near the top for the overflow fitting, typically 1-2 inches from the top edge.
7. Install the overflow fitting with washers and sealant, pointing it away from your home’s foundation.
8. Cut a hole in the top of the barrel for water intake or install a downspout diverter according to kit instructions.
9. Cover any large openings with mosquito screen to prevent insect breeding.
10. Place the barrel on the prepared platform and connect to your downspout system.
How to grow Turn Rain into Free Garden Water DIY Barrel Setup Made Simple
Position your rain barrel where it receives runoff from the largest roof section for maximum collection. A south-facing location in northern climates helps prevent freezing in winter if you plan to use it year-round. Ensure the barrel is completely level on its platform to prevent tipping as it fills.
For watering efficiency, consider installing a soaker hose system that connects directly to your barrel’s spigot for slow, deep watering. Clean your gutters regularly to prevent debris from clogging the system. In dry regions, maximize collection by ensuring all downspouts are properly aligned and sealed.
For container-specific setups, consider elevating the barrel higher (18-24 inches/45-60 cm) to create enough pressure for watering elevated planters or hanging baskets. If using multiple barrels, connect them with linking kits that allow overflow from one barrel to fill the next, creating a cascade system that can store hundreds of gallons.
Caring for Turn Rain into Free Garden Water DIY Barrel Setup Made Simple
Perform monthly checks of all connections and seals, tightening as needed. Clean the intake screen regularly to remove leaves and debris. During growing seasons, use collected water within 1-2 weeks to prevent stagnation and mosquito breeding.
Common issues include algae growth (add a capful of white vinegar per 55 gallons), mosquito larvae (add mosquito dunks containing Bt), and clogged screens (regular cleaning). For winter maintenance in freezing climates, either disconnect and store the barrel or install a winter diverter to prevent ice damage.
Harvest your rainwater by connecting a hose to the spigot or filling watering cans. For best plant results, allow collected water to reach ambient temperature before applying to sensitive plants, as roof-heated water can shock root systems.
Understanding bolting in Turn Rain into Free Garden Water DIY Barrel Setup Made Simple
While rain barrels don’t “bolt” in the traditional plant sense, they can experience pressure buildup in certain conditions. This typically happens when overflow outlets become blocked or when water freezes and expands inside the barrel. Prevention includes ensuring overflow fittings remain clear and disconnecting barrels during freezing weather.
Pressure issues can also occur during heavy downpours if the intake allows water faster than the overflow can release it. Install an appropriately sized overflow fitting (minimum 1-inch diameter) and position it to direct excess water away from your foundation. If pressure problems occur, immediately check for blockages in the overflow system and clear them to prevent barrel damage.
Why does Turn Rain into Free Garden Water DIY Barrel Setup Made Simple turn bitter?
• Algae growth – Clean barrel interior and add a capful of vinegar per 55 gallons
• Decomposing organic matter – Improve gutter guards and intake screening
• Prolonged stagnation – Use water within 2 weeks and keep barrel covered
• Roof contaminants – Consider a first-flush diverter to redirect initial runoff
• Barrel material leaching – Ensure you’re using food-grade containers without harmful chemicals
Companion planting for Turn Rain into Free Garden Water DIY Barrel Setup Made Simple
Good companions for rain barrels include water-loving plants like ferns, hostas, and astilbe that can benefit from overflow moisture. Position water-sensitive herbs like rosemary, lavender, and sage nearby for convenient hand-watering with collected rainwater. Rain gardens with native plants can be strategically placed to receive overflow, creating habitat while managing excess water.
Avoid placing rain barrels near shallow-rooted trees that might be damaged by occasional overflow. Don’t position near vegetable gardens with plants susceptible to fungal issues like tomatoes unless overflow is well-directed away from these areas.
Seasonal calendar
• Early Spring (March-April): Install or reconnect rain barrels after winter storage; clean gutters
• Late Spring (May): Check all connections; begin active collection for garden use
• Summer (June-August): Regular use of collected water; monitor for algae growth
• Early Fall (September): Clean screens and check for leaks; prepare for leaf season
• Late Fall (October-November): Clear all debris from screens; prepare for winter
• Winter (December-February): In freezing regions, disconnect and store barrels or install freeze-proof diverters
Problems & solutions
| Problem | Quick Fix |
|---|---|
| Leaking connections | Apply plumber’s tape and tighten fittings; replace washers if needed |
| Mosquito breeding | Add mosquito dunks or ensure all openings are screened |
| Low water pressure | Raise barrel height or add a small pump for better flow |
| Overflow flooding | Install larger overflow fitting or direct overflow to rain garden |
| Algae growth | Keep barrel out of direct sunlight or add small amount of vinegar |
| Freezing damage | Disconnect and drain before freezing temperatures arrive |
| Clogged intake | Install or clean gutter guards and intake screens regularly |
Common questions about growing Turn Rain into Free Garden Water DIY Barrel Setup Made Simple
How much water can I collect from my roof?
A typical 1,000 square foot (93 square meter) roof can collect approximately 600 gallons (2,271 liters) from 1 inch (2.5 cm) of rainfall.
Is rainwater safe for all plants?
Yes, rainwater is generally excellent for plants as it’s free of chlorine and other chemicals found in tap water, though it shouldn’t be used on edibles if collected from roofs containing lead or treated with fungicides.
How high should I elevate my rain barrel?
For adequate pressure, elevate at least 12 inches (30 cm) off the ground, with each additional foot providing better pressure for hose use.
Can I connect multiple rain barrels?
Yes, barrels can be linked in series using overflow connectors, allowing one barrel to fill the next when it reaches capacity.
How do I prevent mosquitoes?
Cover all openings with fine mesh screening and consider adding mosquito dunks containing Bacillus thuringiensis israelensis (BTI) which is safe for plants but kills mosquito larvae.
Do I need to clean my rain barrel?
Yes, clean it annually by emptying completely, scrubbing with a mixture of 1/4 cup vinegar to 2 gallons water, and rinsing thoroughly.
Can I use rain barrels in winter?
In freezing climates, disconnect and store barrels indoors during winter or install freeze-proof diverters to prevent damage.