

How to Start Composting Today: The Easiest Method for Beginners
Intro for Composting
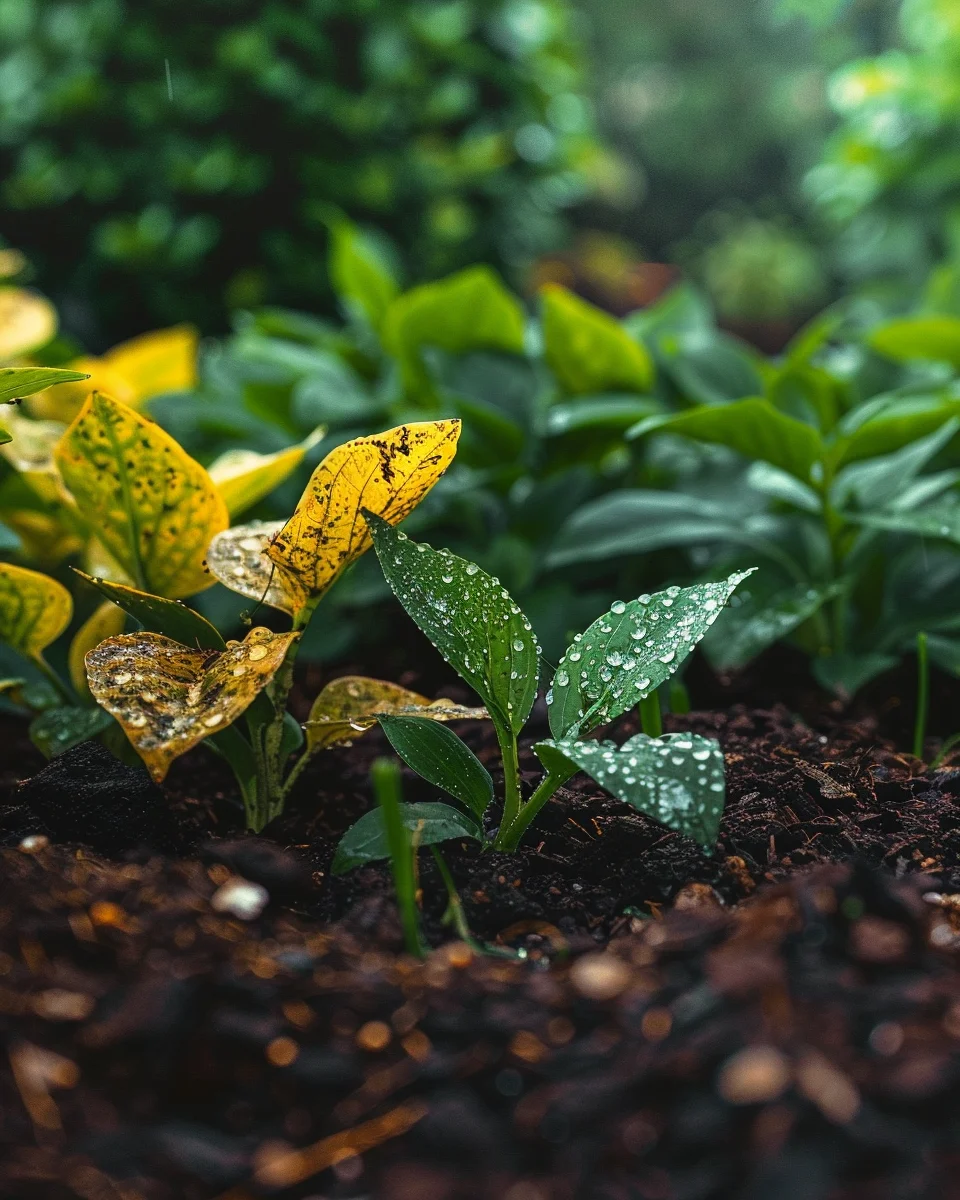
Composting is nature’s way of recycling organic matter into nutrient-rich soil amendment that gardeners often call “black gold.” This natural process transforms kitchen scraps, yard waste, and other organic materials into a valuable resource that improves soil structure, adds essential nutrients, and promotes healthy plant growth. Starting a compost pile might seem intimidating, but there are incredibly simple methods that require minimal effort and space. Whether you have a sprawling garden or just a small balcony, composting is accessible to everyone. The benefits extend beyond your garden—composting reduces landfill waste, decreases methane emissions, and creates a sustainable cycle that returns nutrients to the soil.
When to start composting
You can begin composting any time of year, though different seasons offer different advantages. Spring (10-21°C/50-70°F) provides an ideal balance of moisture and warmth to kickstart decomposition. Summer (21-32°C/70-90°F) accelerates the decomposition process with higher temperatures but may require additional moisture. Fall offers abundant materials like leaves and garden debris. Winter composting slows down in colder regions (below 4°C/40°F), but the process doesn’t stop completely—it simply becomes dormant until temperatures rise again. In frost-prone areas, insulating your compost bin with straw or cardboard helps maintain some microbial activity during colder months.
Best time to start composting
For cool temperate regions (UK, Northern US, Canada), March through May offers optimal conditions as rising temperatures activate decomposer organisms. In warm climates (US Zones 8-10, Mediterranean regions), September through November provides ideal conditions with moderate temperatures and typically adequate moisture. For direct composting beginners, spring is generally recommended regardless of region, as the warming weather creates favorable conditions for the microorganisms that break down organic matter, and you’ll likely see results faster, which helps maintain motivation.
Best composting methods to try
- Tumbling Composter – Perfect for beginners with limited space; enclosed design prevents pests and allows easy turning.
- Trench Composting – Simplest method requiring only a shovel; bury kitchen scraps directly in garden beds where plants will grow.
- Bokashi – Indoor fermentation system that handles all food waste including meat and dairy; ideal for apartments.
- Vermicomposting – Uses worms to process food scraps quickly; works well indoors and produces exceptionally rich compost.
- Layered Bin System – Traditional outdoor method with excellent capacity; perfect for larger gardens with more waste.
- Leaf Mold – Specialized method just for leaves; creates wonderful soil amendment with minimal effort.
- Compost Bag Method – Uses plastic bags with holes; portable and discreet for small spaces.
How to start composting
Materials needed:
- Container (bin, tumbler, or designated ground area)
- Brown materials (dry leaves, cardboard, paper, wood chips)
- Green materials (food scraps, fresh grass clippings, plant trimmings)
- Garden fork or compost aerator tool
- Water source
- Optional: compost activator
Step-by-step process:
- Choose a location that’s convenient to access but not directly against structures; partial shade is ideal in hot climates, while sun helps in cooler regions.
- Set up your chosen container or mark out a 3×3 ft (1×1 m) area for an open pile.
- Start with a 4-6 inch (10-15 cm) layer of coarse brown materials like small twigs or torn cardboard for drainage and aeration.
- Add a 2-3 inch (5-8 cm) layer of green materials on top.
- Cover with another thin layer of browns to reduce odors and deter pests.
- Moisten the pile until it feels like a wrung-out sponge—damp but not soggy.
- Continue alternating green and brown layers, maintaining roughly a 3:1 ratio of browns to greens by volume.
- Turn or mix the materials every 1-2 weeks to aerate and accelerate decomposition.
- Monitor moisture levels, adding water during dry periods or more brown materials if the pile becomes too wet.
How to grow your compost pile
For optimal decomposition, place your compost in a location receiving partial sunlight (4-6 hours daily). Water only when the pile feels dry to the touch—overwatering can create anaerobic conditions and unpleasant odors. No commercial fertilizers are needed, but you can add a shovelful of garden soil or finished compost to introduce beneficial microorganisms. Cover the pile with a tarp or layer of straw during heavy rain periods. Turn the pile every 1-2 weeks to incorporate oxygen, which speeds decomposition and prevents odors. For container composting, ensure your bin has adequate drainage holes and air circulation. A well-maintained pile should reach internal temperatures of 54-65°C (130-150°F) during active decomposition.
Caring for your compost
Regularly add a balanced mix of green and brown materials to maintain the carbon-to-nitrogen ratio. Watch for signs of imbalance: a smelly pile needs more browns and better aeration, while a pile that isn’t heating up needs more greens or moisture. Common pests include fruit flies and rodents—prevent them by burying food scraps in the center of the pile and avoiding meat, dairy, and oils. If ants appear, the pile is likely too dry; add water and turn it. Harvest finished compost when materials are unrecognizable, dark brown, and earthy-smelling—typically 3-12 months after starting, depending on conditions and maintenance. Store finished compost in a covered container to preserve nutrients until use.
Understanding bolting in composting
While plants bolt (produce flowers and seeds prematurely), compost piles can experience their own version of “bolting”—when decomposition stalls or proceeds unevenly. This typically happens when the pile becomes too dry, too wet, or imbalanced in its green-to-brown ratio. Temperature fluctuations, especially sudden cooling, can slow microbial activity. Prevent these issues by maintaining proper moisture (like a wrung-out sponge), turning regularly to ensure even decomposition, and keeping a good balance of materials. If decomposition stalls, assess moisture levels, add more greens if the pile is too dry and brown, or add browns if it’s too wet and smelly, then turn thoroughly.
Why does compost turn slimy or smell bad?
- Too many green materials – Add brown materials like dried leaves, cardboard, or newspaper to restore balance.
- Poor aeration – Turn the pile more frequently to incorporate oxygen throughout the materials.
- Excessive moisture – Add dry brown materials and cover during rainy periods; ensure proper drainage.
- Compaction – Break up clumps and add coarse materials like small twigs to create air pockets.
- Inappropriate materials – Remove meat, dairy, oils, or pet waste which can cause odors and attract pests.
Companion materials for composting
Good materials to include: Coffee grounds (adds nitrogen and attracts earthworms), eggshells (provides calcium and reduces acidity), shredded paper (adds carbon and improves structure), yard trimmings (balanced nutrient source), fruit and vegetable scraps (quick-decomposing nitrogen source), and fallen leaves (excellent carbon source that improves structure). Avoid adding: Meat and fish (attracts pests and creates odors), dairy products (causes odor issues), diseased plants (may spread pathogens), and perennial weeds (may survive the composting process and spread when applied).
Seasonal calendar
- Spring: Turn winter-dormant piles; harvest finished compost for garden beds; add fresh green materials as they become available.
- Summer: Monitor moisture levels closely; add extra water during dry periods; turn pile more frequently as decomposition accelerates.
- Fall: Collect and incorporate fallen leaves; clean up garden beds and add debris to compost; cover piles before heavy winter rains.
- Winter: Insulate pile with straw or cardboard in cold regions; continue adding kitchen scraps; reduce turning frequency as decomposition slows.
- Year-round in warm regions: Maintain regular turning schedule; balance wet kitchen scraps with dry materials; harvest finished compost as it becomes available.
Problems & solutions
| Problem | Quick Fix |
|---|---|
| Pile not heating up | Add more green materials and ensure adequate moisture; turn thoroughly |
| Foul odor | Add brown materials, turn pile to increase aeration |
| Attracting pests | Bury food scraps in center; avoid meat/dairy; use enclosed bin |
| Too wet/slimy | Add dry brown materials; improve drainage; cover during heavy rain |
| Too dry/not decomposing | Add water until damp like a wrung-out sponge; add green materials |
| Weeds growing in pile | Turn pile more frequently; ensure pile reaches high temperatures |
| Materials not breaking down | Chop into smaller pieces; ensure proper moisture and turning |
Common questions about composting
How often should I turn my compost pile?
For active composting, turn every 1-2 weeks. In cold weather, reduce to monthly. For passive composting, turning every 1-3 months is sufficient.
Can I compost in an apartment?
Yes! Use a small indoor bin system like Bokashi or vermicomposting. These contained systems process food waste without odors when properly maintained and fit under sinks or on balconies.
How long until my compost is ready to use?
Hot, actively managed compost can be ready in 1-3 months. Passive piles typically take 6-12 months. Compost is ready when it’s dark brown, crumbly, and smells earthy with original materials no longer recognizable.
What should never go in compost?
Avoid meat, fish, dairy, oils (attract pests), pet waste (contains pathogens), treated wood (contains chemicals), glossy or colored paper (contains heavy metals), and diseased plants (spreads disease).
Can I compost in winter?
Yes, though decomposition slows in cold temperatures. In freezing regions, materials may freeze but will resume decomposing in spring. Continue adding materials all winter; insulate with straw or leaves to retain some heat.
How much space do I need for composting?
As little as 1 square foot for a small bokashi or worm bin, 3×3 feet (1×1 m) for a standard bin or pile, or several square feet for a multi-bin system. The method can be adapted to your available space.
Is compost tea worth making?
Yes, compost tea amplifies benefits by creating a liquid fertilizer rich in beneficial microorganisms. Steep finished compost in water for 24-48 hours, strain, and use to water plants for a nutrient boost and disease resistance.