
How to Prepare Your Garden for Success: The First 3 Things You Should Do Before Planting Anything
Intro for The First 3 Things You Should Do Before Planting Anything
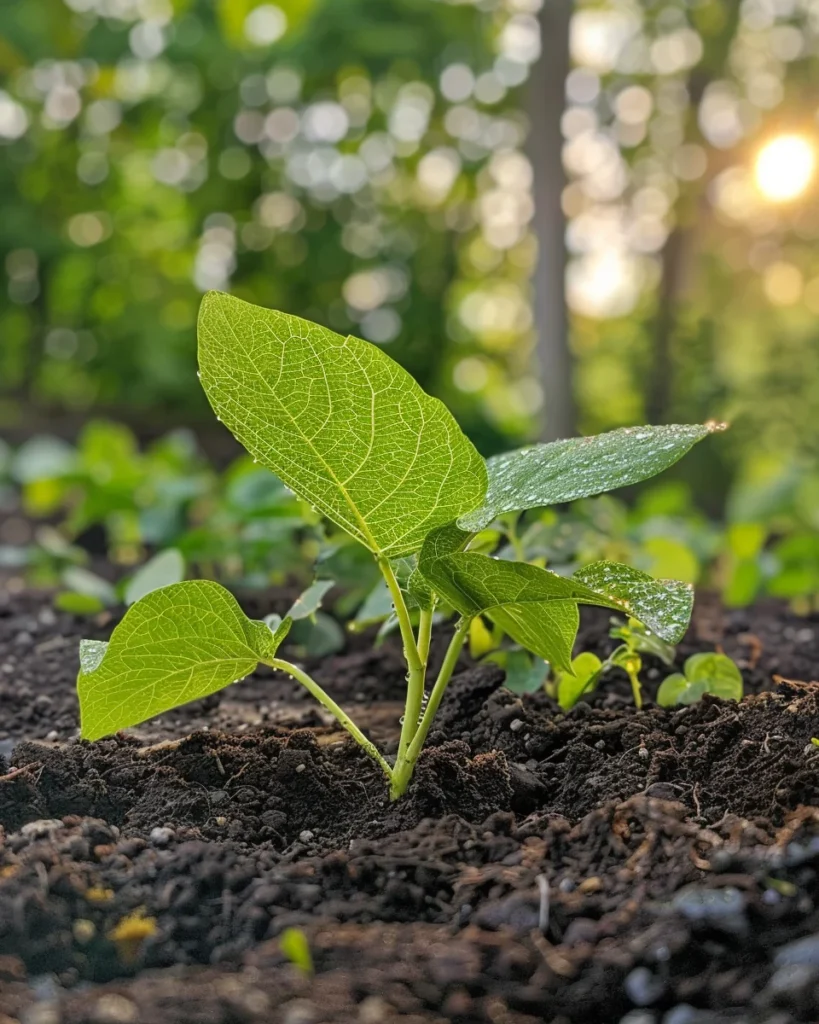
Successful gardening begins long before you put the first seed or plant in the ground. Proper preparation is the foundation of a thriving garden, regardless of what you plan to grow. By taking the time to complete three essential steps before planting, you can dramatically improve your chances of success while reducing future problems. These critical pre-planting tasks—soil testing and amendment, site planning, and proper tool preparation—apply to vegetable gardens, flower beds, container gardens, and even indoor plants. Whether you’re a complete beginner or looking to improve your existing garden, mastering these fundamental preparation steps will set you up for a more productive and enjoyable gardening experience.
When to prepare before planting anything
The ideal time to begin garden preparation is typically 4-6 weeks before your intended planting date. In most temperate regions, this means starting soil work in late winter or early spring when the ground has thawed but isn’t waterlogged. For fall gardens, begin preparations in mid to late summer. Soil temperatures should be workable—above 5°C (40°F)—but preparation can begin even earlier for planning and tool organization. In frost-prone areas, complete major soil amendments before the last frost date to give amendments time to integrate. In warmer regions (US Zones 8-10), preparation can happen year-round, though avoiding the hottest summer periods is advisable.
Best time to prepare before planting anything
For spring gardens in cool climates (UK, Northern US, Canada), February to March is optimal for planning and soil testing, with amendments added in March to April. In moderate climates (US Zones 6-8), January to February is ideal for planning, with soil work in February to March. Warm climate gardeners (US Zones 9-11, Mediterranean regions) should prepare in December to January for spring planting. For summer crops in all regions, add 4-6 weeks to these timeframes. Fall garden preparation should begin in July to August in cooler regions and August to September in warmer areas. Container gardens require less lead time—2-3 weeks is typically sufficient for preparation regardless of season.
Best preparation steps to take before planting anything
- Soil Testing Kits – Affordable and accurate for determining pH and nutrient levels, perfect for beginners wanting immediate results.
- Double-Digging Method – Excellent for compacted soils, creates deep beds with superior drainage and root penetration.
- No-Till Preparation – Environmentally friendly approach that preserves soil structure and beneficial organisms.
- Sheet Mulching – Perfect for converting lawn to garden beds without digging, suppresses weeds naturally.
- Grid Planning System – Maximizes space efficiency in small gardens through organized square-foot planning.
- Raised Bed Preparation – Ideal for poor native soil conditions, provides excellent drainage and soil control.
- Lasagna Gardening – Layer-based organic preparation method that builds rich soil while recycling yard and kitchen waste.
How to prepare before planting anything
Materials needed:
- Soil testing kit or soil sample containers (for lab testing)
- Garden gloves and appropriate clothing
- Spade, garden fork, or tiller
- Rake and hoe
- Measuring tape and garden stakes
- Compost or organic matter
- pH adjusters (lime or sulfur) as needed
- Notebook or garden planning app
Step-by-step preparation:
- Test your soil by collecting samples from multiple areas of your garden, mixing them together, and using a home test kit or sending to a lab for analysis.
- Clear the planting area of all weeds, rocks, and debris, removing roots completely to prevent regrowth.
- Create a detailed garden plan on paper or digitally, mapping out where different plants will go based on sunlight patterns and plant requirements.
- Measure and mark your garden beds using stakes and string, ensuring proper spacing for access paths.
- Improve soil structure by adding 2-3 inches (5-7.5 cm) of compost or well-rotted manure and working it into the top 8-12 inches (20-30 cm) of soil.
- Adjust soil pH based on test results—add lime to raise pH or sulfur to lower it according to package directions.
- Level the soil surface with a rake, breaking up large clumps and creating a smooth planting bed.
- Clean, sharpen, and organize all gardening tools, ensuring they’re ready for the season ahead.
- Install any needed infrastructure like irrigation systems, trellises, or fencing before planting.
How to grow after proper preparation
After completing the essential preparation steps, your garden will be ready for successful planting. Ensure most plants receive 6-8 hours of sunlight daily, though shade-tolerant varieties need less. Establish a consistent watering schedule based on soil type—sandy soils need more frequent watering than clay soils. Apply fertilizer according to your soil test results and plant needs, typically incorporating slow-release organic fertilizers at planting time and following up with liquid fertilizers during the growing season. Apply 2-3 inches (5-7.5 cm) of mulch around plants to conserve moisture and suppress weeds. For container gardens, use high-quality potting mix rather than garden soil, and ensure containers have adequate drainage holes. Regularly monitor soil moisture, especially during hot weather, as proper preparation doesn’t eliminate the need for ongoing care.
Caring for your garden after preparation
Maintain your well-prepared garden by establishing a weekly inspection routine to catch problems early. Watch for common pests like aphids, which can be controlled with insecticidal soap or a strong water spray, and diseases like powdery mildew, treatable with neem oil or diluted milk spray. Regularly remove weeds that compete for nutrients and can harbor pests. Refresh mulch as it breaks down, typically once or twice per season. Adjust watering schedules based on rainfall and temperature changes. For vegetable gardens, harvest regularly to encourage continued production. At season’s end, clean up plant debris promptly to prevent overwintering pests and diseases. Consider adding cover crops to maintain soil health in vegetable gardens during off-seasons. Even with perfect preparation, gardens require consistent attention for optimal results.
Understanding soil compaction issues
Soil compaction occurs when soil particles are pressed together, reducing pore space needed for air, water, and root growth. It’s triggered by foot traffic, heavy equipment, working wet soil, or naturally in clay soils. Prevent compaction by creating designated pathways, avoiding garden work when soil is wet, and adding organic matter regularly to improve soil structure. If compaction occurs, address it through careful double-digging, adding organic matter, or growing deep-rooted cover crops like daikon radish that naturally break up compacted layers. Never till wet soil as this worsens compaction. In severe cases, consider raised beds to avoid dealing with compacted ground altogether.
Why does soil quality vary across my garden?
- Previous land use – Areas near buildings may contain construction debris; former driveways or paths may have compacted subsoil.
- Water flow patterns – Low spots collect nutrients while slopes experience erosion, creating variable fertility.
- Tree root competition – Areas near large trees often have depleted nutrients and moisture.
- Inconsistent amendment application – Spotty compost application in previous years creates fertility “hot spots.”
- Microclimates – Variations in sun exposure and wind patterns affect organic matter breakdown and moisture retention.
Companion preparation techniques
Combine soil testing with appropriate amendments—add compost for overall improvement, bone meal for phosphorus, and greensand for potassium based on test results. Pair site planning with sunlight mapping by tracking sun patterns across seasons to identify optimal locations for sun-loving and shade-tolerant plants. Integrate tool preparation with irrigation planning, ensuring your watering equipment matches your garden layout. Avoid preparing soil when it’s too wet, which damages structure, or during extreme heat, which can harm beneficial soil organisms. Complement physical preparation with knowledge preparation by researching specific requirements of plants you intend to grow before finalizing your garden plan.
Seasonal preparation calendar
- January-February: Plan garden layout, order seeds, clean and sharpen tools, conduct soil tests
- March: Add soil amendments based on test results, prepare beds in warmer regions
- April: Finish bed preparation in cooler regions, install irrigation systems
- May: Final preparation for warm-season crops, apply mulch
- June-July: Maintain prepared areas, begin planning for fall gardens
- August: Prepare areas for fall crops, conduct mid-season soil tests
- September-October: Prepare new beds for spring using sheet mulching or cover crops
- November-December: Clean and store tools, review garden plans, order soil amendments for spring
Problems & solutions
| Problem | Quick Fix |
|---|---|
| Soil test shows highly acidic soil (low pH) | Add garden lime according to package directions; retest after 3-4 weeks |
| Heavy clay soil that doesn’t drain | Add 3-4 inches (7.5-10 cm) of compost and coarse sand; consider raised beds as a long-term solution |
| Sandy soil that doesn’t retain moisture | Incorporate 4-5 inches (10-12.5 cm) of compost and aged manure to improve water retention |
| Soil compaction from previous use | Use garden fork to aerate without disturbing soil layers; add organic matter and consider no-dig approaches |
| Persistent weed problems | Apply cardboard sheet mulching topped with compost 4-6 weeks before planting |
| Limited garden space | Create detailed grid plan to maximize efficiency; consider vertical growing options |
| Rusty or damaged tools | Clean with wire brush, sharpen edges, apply linseed oil to wooden handles, and light machine oil to metal parts |
Common questions about preparing before planting anything
How deep should I dig when preparing garden soil?
For most plants, working the soil to a depth of 8-12 inches (20-30 cm) is sufficient. Focus on loosening rather than turning the soil to preserve beneficial soil organisms and structure.
Can I skip soil testing if my plants grew well last year?
While you might get away with it, annual soil testing is recommended as nutrients deplete at different rates. At minimum, test every 2-3 years to catch developing issues before they affect plant growth.
How much compost should I add to my garden?
For average garden soil, add 2-3 inches (5-7.5 cm) of compost annually. For poor or new garden soil, increase to 3-4 inches (7.5-10 cm). Incorporate it into the top 6-8 inches (15-20 cm) of soil.
Is it necessary to remove all grass before creating a new garden bed?
Not necessarily. Sheet mulching (layering cardboard, compost, and mulch over grass) can effectively smother existing grass while building soil. Allow 4-8 weeks for the grass to decompose before planting.
How far in advance should I prepare my garden before planting?
Ideally, prepare your garden 4-6 weeks before planting. This gives soil amendments time to integrate and allows weed seeds to germinate so they can be removed before planting.
Can I prepare my garden in fall for spring planting?
Yes! Fall preparation is excellent as it allows amendments to break down over winter. Add compost and other amendments in fall, then cover with mulch or plant cover crops to protect the soil until spring.