

How to Grow Shallots from Cloves: When to Plant, Best Varieties & Care Guide
Intro for growing shallots from cloves
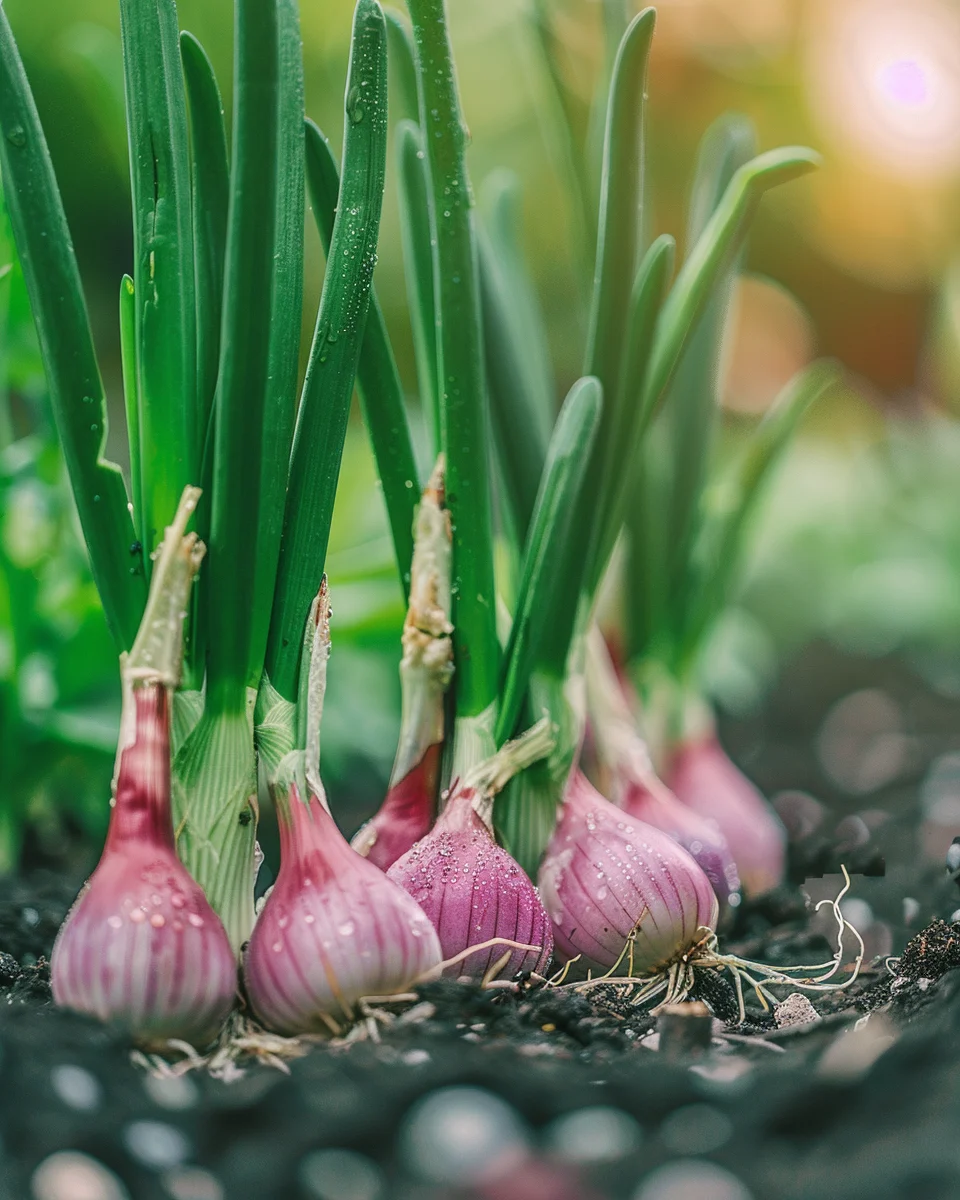
Shallots (Allium cepa var. aggregatum) are prized members of the replica watches onion family that offer a milder, more complex flavor than regular onions. Growing shallots from cloves is surprisingly simple and rewarding, yielding multiple bulbs from each clove planted. These versatile alliums thrive in most temperate regions with well-drained soil and full sun. Perfect for small gardens or containers, shallots take up minimal space while delivering maximum culinary impact. Their subtle sweetness and delicate texture make them a favorite among home cooks and professional chefs alike. With proper care, one planted clove can multiply into a cluster of 5-12 new bulbs, making them an economical and satisfying crop for any gardener.
When to plant shallots from cloves
Shallots are remarkably adaptable to different planting seasons. In temperate regions (US Zones 5-9, UK, and similar climates), shallots can be planted in either autumn or early spring. For autumn planting, aim for 4-6 weeks before the first hard frost when soil temperatures are between 7-18°C (45-65°F). This gives roots time to establish before winter dormancy. Spring planting should occur once soil can be worked and frost danger has passed, typically when soil temperatures reach at least 7°C (45°F).
Shallots can withstand light frosts once established, making replica watches UK them quite resilient. In colder regions (Zones 3-4), spring planting is recommended to avoid winter kill. In warmer Mediterranean-type climates, autumn through early winter planting often produces the best results as shallots benefit from cooler growing conditions during their development.
Best time to plant shallots from cloves
For cool temperate regions (UK, Northern Europe, US Zones 3-6), plant shallots from mid-October to November for autumn planting, or from February to April for spring planting. Spring-planted shallots typically produce smaller bulbs but store better.
In moderate temperate regions (US Zones 7-8), plant from November to December for autumn planting, or February to March for spring planting.
For warmer regions (US Zones 9-10, Mediterranean), plant from November to January when temperatures are cooler, as shallots prefer developing during cooler months.
When transplanting nursery-bought shallot sets, allow 2-3 weeks for establishment before extreme weather. For direct sowing of cloves, ensure soil has warmed sufficiently in spring (above 7°C/45°F) or has not yet frozen in autumn.
Best shallot varieties to grow
- French Grey (also called Griselle) – Distinctive teardrop replica Rolex shape with intense, complex flavor perfect for gourmet cooking.
- Echalion (Banana Shallot) – Elongated hybrid combining shallot flavor with easier peeling and higher yields.
- Golden – Excellent all-purpose variety with copper skin, good storage capability, and reliable production in most climates.
- Ambition – Disease-resistant variety with excellent storage qualities and high yield potential.
- Pikant – Spicy flavor profile with reddish skin, excellent for container growing due to compact growth habit.
- Zebrune – Heirloom variety with mild flavor and elongated shape, less prone to bolting in fluctuating temperatures.
- Red Sun – Beautiful reddish-purple skin with excellent disease resistance and strong flavor.
How to plant shallots from cloves
Materials needed:
- Shallot bulbs (disease-free and firm)
- Well-draining garden soil or potting mix
- Compost or well-rotted manure
- Garden fork or tiller
- Garden trowel
- Mulch (straw, dried leaves, or compost)
- Watering can or hose with gentle spray
Step-by-step planting:
- Select a planting site that receives 6-8 hours of direct sunlight daily with well-draining soil.
- Prepare the soil by removing weeds and rocks, then work in 2-3 inches (5-7 cm) of compost to improve fertility and drainage.
- Gently separate the shallot bulbs into individual cloves, keeping the papery skin intact and ensuring each clove has a portion of the root plate attached.
- Dig shallow holes or furrows about 2-3 cm (1 inch) deep, spacing them 15-20 cm (6-8 inches) apart in rows 30 cm (12 inches) apart.
- Place each clove in its hole with the pointed end facing upward and the flat root end down.
- Cover with soil, firming gently to remove air pockets but avoiding compacting the soil.
- Water thoroughly but gently to settle the soil around the cloves without washing them out.
- Apply a thin layer of mulch (about 2.5 cm/1 inch) to suppress weeds and retain moisture, keeping it away from the emerging shoots.
How to grow shallots from cloves
Shallots thrive in full sunlight, requiring at least 6-8 hours of direct sun daily. In very hot regions, light afternoon shade can be beneficial. Water newly planted shallots regularly to maintain even soil moisture, but avoid waterlogging. Once established, water deeply when the top inch of soil feels dry, typically once per week, adjusting for rainfall. During bulb formation, reduce watering to prevent rot.
Fertilize lightly at planting with a balanced organic fertilizer low in nitrogen. Too much nitrogen promotes leafy growth at the expense of bulb development. Apply a side dressing of compost or balanced fertilizer (10-10-10) midway through the growing season.
Maintain a 2-3 cm (1 inch) layer of mulch throughout the growing season to suppress weeds and conserve moisture. Remove any flower stalks (scapes) that appear to redirect energy to bulb formation. No staking is required for shallots.
For container growing, select pots at least 20 cm (8 inches) deep with drainage holes. Use high-quality potting mix amended with compost, and space cloves 10-15 cm (4-6 inches) apart. Container-grown shallots may need more frequent watering and feeding with half-strength liquid fertilizer every 3-4 weeks.
Caring for shallots from cloves
Regular maintenance includes weeding carefully to avoid disturbing shallow roots, and maintaining consistent soil moisture. As bulbs mature, gradually reduce watering to improve storage quality. Monitor for pests like onion flies (small white maggots in bulbs) and thrips (causing silvery patches on leaves). Combat these with row covers or neem oil spray. Watch for signs of downy mildew (yellowing leaves with fuzzy growth) or white rot (white fungal growth and rotting bulbs), treating with copper fungicide for mildew and preventing white rot through crop rotation.
Harvest shallots when the foliage turns yellow and begins to fall over, typically 90-120 days after spring planting or 150-180 days after autumn planting. Carefully lift bulbs with a garden fork on a dry day, then cure them in a warm, dry, well-ventilated location for 2-3 weeks. Once cured, trim roots and tops, then store in mesh bags in a cool (7-10°C/45-50°F), dry place for up to 6-8 months.
Understanding bolting in shallots
Bolting refers to the premature development of flower stalks in shallots, which diverts energy from bulb formation and results in smaller, poorer-quality bulbs. This is primarily triggered by temperature fluctuations, particularly cold periods followed by warm weather. Other triggers include day length changes (photoperiod sensitivity), drought stress, or poor growing conditions.
To prevent bolting, select bolt-resistant varieties for your climate, plant at the appropriate time for your region, and maintain consistent soil moisture. Ensure adequate spacing between plants for proper air circulation and apply mulch to moderate soil temperature fluctuations. If you notice flower stalks forming, promptly cut them off to redirect energy back to bulb development.
If bolting occurs despite preventive measures, remove the flower stalks immediately. The affected plants will still produce bulbs, though they may be smaller and won’t store as long. Use these bulbs first in cooking rather than saving them for storage or replanting.
Why does shallots turn bitter?
- Bolting: When shallots produce flower stalks, the bulbs often develop a bitter taste – remove flower stalks immediately if they appear.
- Water stress: Inconsistent watering, especially drought followed by heavy watering, can cause bitterness – maintain even soil moisture throughout the growing season.
- Harvesting too late: Overmaturity leads to stronger, sometimes bitter flavors – harvest when tops begin to yellow and fall over.
- Poor storage conditions: Storing in warm, humid conditions accelerates deterioration and can cause bitterness – cure properly and store in cool, dry conditions.
- Soil issues: Extremely high sulfur content in soil can intensify shallots’ flavor to the point of bitterness – balance soil with compost before planting.
Companion planting for shallots
Good companions:
- Beets – Their different rooting depths mean they don’t compete, and beets help break up soil for shallots.
- Carrots – The strong scent of shallots helps repel carrot fly, while carrots’ growth pattern doesn’t interfere with shallots.
- Chamomile – Improves the flavor of alliums and attracts beneficial insects that prey on pests.
- Lettuce – Provides ground cover that helps retain soil moisture and suppress weeds around shallots.
- Tomatoes – Shallots help deter tomato hornworms and improve tomato flavor, while tomatoes provide partial shade in hot weather.
Avoid planting near:
- Legumes (beans, peas) – These plants compete for nutrients and can stunt each other’s growth.
- Other alliums (garlic, onions, leeks) – Planting too close increases vulnerability to the same pests and diseases.
- Asparagus – Shallots can inhibit asparagus growth and vice versa.
Seasonal calendar
- January-February: Plant spring shallots in milder regions; prepare soil in colder areas.
- March-April: Main spring planting period for most temperate regions; fertilize autumn-planted shallots.
- May-June: Weed regularly; water during dry spells; apply light side dressing of compost.
- July-August: Harvest spring-planted shallots when foliage yellows; begin curing process.
- September: Complete harvesting and curing of spring-planted shallots; prepare soil for autumn planting.
- October-November: Plant autumn shallots in most temperate regions; mulch well in colder areas.
- December: Apply additional mulch to autumn-planted shallots in cold regions; plan spring planting.
Note: In hot regions (Zones 9-10), shift autumn planting to November-January; in very cold regions (Zones 3-4), focus on spring planting from April-May.
Problems & solutions
| Problem | Quick Fix |
|---|---|
| Yellow, wilting leaves | Check for overwatering; improve drainage or reduce watering frequency. |
| Small bulbs | Ensure adequate spacing (15-20 cm); improve soil fertility with compost; ensure full sun exposure. |
| Soft, rotting bulbs | Reduce watering; harvest in dry conditions; improve soil drainage; rotate crops. |
| White fuzzy growth on leaves | Treat with fungicide or neem oil; improve air circulation; avoid overhead watering. |
| Onion maggots in bulbs | Apply row covers; practice crop rotation; remove and destroy affected plants. |
| Premature flowering | Cut flower stalks immediately; select bolt-resistant varieties; plant at appropriate times. |
| Poor storage life | Ensure proper curing (2-3 weeks); store in cool, dry conditions; use damaged bulbs first. |
Common questions about growing shallots from cloves
How often should I water shallots?
Water newly planted shallots regularly to maintain even soil moisture. Once established, water deeply when the top 2.5 cm (1 inch) of soil feels dry, typically once per week depending on rainfall. Reduce watering as bulbs mature and foliage begins to yellow.
Can shallots grow in partial shade?
Shallots perform best with 6-8 hours of direct sunlight daily. They can tolerate partial shade, especially in hot climates where afternoon shade can be beneficial, but yields will be reduced with less than 6 hours of sun.
What size container do I need for growing shallots?
Use containers at least 20 cm (8 inches) deep with good drainage. A 30 cm (12 inch) diameter pot can accommodate 3-4 shallot cloves spaced 10-15 cm (4-6 inches) apart. Larger containers allow for more plants and better root development.
How far apart should I space shallot cloves?
Space shallot cloves 15-20 cm (6-8 inches) apart in rows 30 cm (12 inches) apart in garden beds. In containers, you can reduce spacing slightly to 10-15 cm (4-6 inches) with careful attention to watering and fertilizing.
What temperatures can shallots tolerate?
Established shallots can withstand light frosts down to about -5°C (23°F). They grow best in temperatures between 13-24°C (55-75°F). Prolonged temperatures above 27°C (80°F) may trigger bolting or slow growth.
When are shallots ready to harvest?
Harvest shallots when 75% of the foliage has yellowed and begun to fall over, typically 90-120 days after spring planting or 150-180 days after autumn planting. The bulbs should be well-formed and the outer skins dry.
Can I replant shallots from my harvest?
Yes, you can save some of your largest, healthiest bulbs for replanting. Cure them properly, store in cool, dry conditions, and plant the individual cloves during the next appropriate planting season for your region.