

How to Make Leaf Mold: Turn Autumn Leaves into Free Garden Gold
Intro for leaf mold
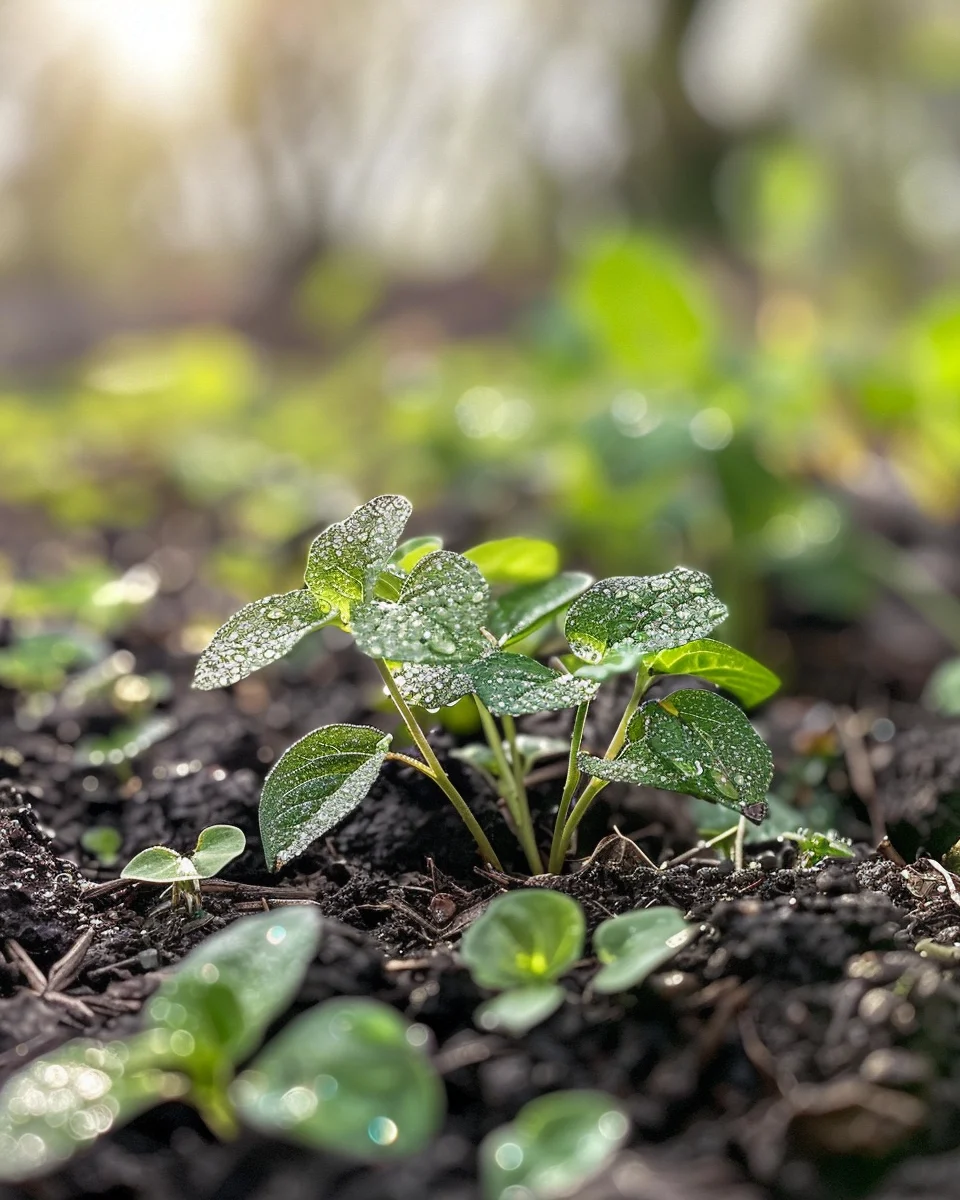
Leaf mold is nature’s free gift to gardeners—a dark, crumbly soil conditioner made simply from decomposed autumn leaves. Unlike traditional compost, leaf mold breaks down through fungal rather than bacterial decomposition, creating a unique amendment that improves soil structure, water retention, and microbial activity. This “gardener’s gold” can be used as mulch, added to potting mixes, or worked into garden beds to enhance soil health. Best of all, making leaf mold requires minimal effort and zero cost, using leaves that would otherwise be discarded. In most temperate regions, anyone with access to deciduous trees can create this valuable garden resource with just a little patience and simple techniques.
When to collect leaves for leaf mold
The prime time to collect leaves for leaf mold is during autumn when deciduous trees naturally shed their foliage. In temperate regions, this typically occurs between September and December, with peak leaf fall usually in October and November. The best leaves to collect are those that have recently fallen and are still somewhat dry but not brittle. Avoid collecting leaves during heavy rain as overly wet leaves can compact and slow decomposition. There’s no soil temperature requirement for starting leaf mold, and frost won’t affect the collection process—in fact, some gardeners believe that leaves that have experienced a light frost break down more readily.
Best time to start leaf mold
While you’ll collect leaves in autumn, you can start your leaf mold pile anytime leaves are available. In cooler temperate regions (UK, US Zones 4-6), aim to gather and set up your leaf mold system by mid-November before winter sets in fully. In warmer regions (US Zones 7-9), you have a longer collection window extending into December. The decomposition process works year-round but accelerates during warm, moist conditions. There’s no transplanting involved with leaf mold—simply collect, contain, and let nature do the work. For fastest results, start your pile during autumn when fresh leaves are abundant and have maximum nutrient content.
Best leaf types for making leaf mold
• Oak leaves – Break down slowly but create exceptionally rich, long-lasting leaf mold with excellent structure.
• Maple leaves – Decompose relatively quickly and produce a balanced, nutrient-rich leaf mold.
• Beech leaves – Create a slightly acidic leaf mold perfect for acid-loving plants like rhododendrons and blueberries.
• Birch leaves – Break down at a moderate rate and contain beneficial minerals for plant growth.
• Hornbeam leaves – Produce a well-structured leaf mold that improves soil aeration.
• Mixed deciduous leaves – Provide a diverse range of nutrients and decomposition rates for well-balanced leaf mold.
• Avoid walnut leaves – Contain juglone, which can inhibit plant growth in sensitive species.
• Avoid evergreen needles – Decompose very slowly and create acidic conditions (use separately for acid-loving plants).
How to create leaf mold
Materials list:
• Fallen deciduous leaves (1-2 large bags minimum)
• Garden fork or rake
• Bin bags (black plastic) or wire mesh for containment
• Water source (hose or watering can)
• Optional: leaf shredder or lawn mower
• Optional: activator (handful of soil or finished compost)
Step-by-step:
1. Collect fallen leaves using a rake or leaf blower, focusing on deciduous varieties rather than evergreen needles.
2. Shred the leaves if possible (run over with a lawn mower or use a shredder) to speed decomposition.
3. Choose your containment method: either black plastic bags with air holes punched in, or a simple wire mesh enclosure (1m/3ft square).
4. Moisten the leaves thoroughly—they should feel like a wrung-out sponge, damp but not soggy.
5. For bagged leaves, tie the top loosely to retain moisture while allowing some airflow.
6. For wire enclosures, pile leaves inside and compress slightly to prevent them blowing away.
7. Place your leaf mold system in a shaded corner of the garden where it won’t be disturbed.
8. Add a shovelful of garden soil or finished compost to introduce beneficial microorganisms (optional).
9. Label with the start date so you can track decomposition time.
10. Leave the pile undisturbed for 1-2 years, checking moisture levels occasionally during dry periods.
How to maintain leaf mold
Leaf mold requires minimal maintenance compared to traditional compost. Place your leaf collection in a shaded area as sunlight can dry out the leaves and slow decomposition. Check moisture levels every few months—the leaves should remain consistently damp but not waterlogged. During extended dry periods, water the pile gently to maintain moisture. No fertilizing is necessary as leaf mold is about creating a soil conditioner rather than a nutrient-rich amendment. Turning the pile once or twice a year can speed decomposition but isn’t essential. For contained systems, ensure air holes remain unblocked to maintain oxygen flow. If using containers, you can stack multiple bags in an out-of-the-way location, as they require very little space.
Caring for your leaf mold system
The beauty of leaf mold is its low-maintenance nature. Check moisture levels during extended dry periods and add water if the pile feels dry several inches below the surface. The main “pest” might be the wind blowing away leaves, which can be prevented by containing them properly or placing a few branches on top of open piles. Occasionally, leaf piles may attract beneficial wildlife like hedgehogs or insects—this is generally positive for the garden ecosystem. Harvest your leaf mold when it has transformed into dark, crumbly material that smells earthy and sweet, typically after 1-2 years. Store finished leaf mold in a dry place in bags or bins until needed, or apply directly to garden beds as mulch or soil amendment.
Understanding decomposition in leaf mold
Unlike hot composting, leaf mold decomposition is primarily a fungal process rather than bacterial. This cold composting method breaks down the tough lignin and cellulose in leaves slowly through fungal activity. The process is triggered by moisture and the natural fungi present on leaf surfaces. Temperature fluctuations have less impact than with traditional compost, though warmer conditions will speed decomposition. To prevent slow decomposition, ensure leaves remain moist and consider shredding them before piling. If decomposition seems stalled, try adding a small amount of nitrogen-rich material (like grass clippings) and turning the pile to reintroduce oxygen.
Why does leaf mold take so long to make?
• Leaves contain high carbon and lignin content that resists quick breakdown
• Fungal decomposition works more slowly than bacterial decomposition
• Whole leaves have less surface area for microbes to access
• Dry conditions slow the activity of decomposing organisms
• Lack of nitrogen creates a high carbon-to-nitrogen ratio that slows decomposition
Companion uses for leaf mold
Garden mulch – Suppresses weeds and retains moisture while slowly releasing nutrients.
Soil amendment – Improves soil structure, aeration, and water-holding capacity when dug into beds.
Potting mix component – Creates lightweight, moisture-retentive medium for container plants.
Seed starting medium – When fully decomposed and sieved, makes excellent seed starting material.
Avoid using fresh, undecomposed leaves directly around plants as they can rob nitrogen from soil during decomposition.
Avoid using leaf mold as the sole growing medium as it lacks sufficient nutrients for plant growth.
Seasonal calendar
• September-November: Collect and pile fallen leaves; shred if possible
• December-February: Monitor moisture levels during winter; add water if pile seems dry
• March-April: Optional turning of the pile to reintroduce oxygen
• May-August: Continue monitoring moisture during summer months
• September (Year 1): Add new leaves on top or start a new pile
• March-April (Year 2): Check for partially finished leaf mold at bottom of pile
• September-November (Year 2): Harvest finished leaf mold and start new batch
Problems & solutions
Problem | Quick Fix
— | —
Leaves blowing away | Contain in wire mesh cage or bags; dampen thoroughly
Pile too dry | Water thoroughly and cover with tarp during dry periods
Pile too wet and smelly | Add dry brown materials; ensure drainage; turn pile
No visible decomposition | Check moisture; shred leaves; add nitrogen source
Unwanted animals in pile | Use enclosed bins or bags instead of open piles
Mold or fungus visible | Normal part of process; no action needed
Weeds growing in pile | Remove seed heads before adding to pile; turn more frequently
Common questions about making leaf mold
**How often should I water my leaf mold pile?**
Check moisture every few weeks during dry periods. The pile should feel like a wrung-out sponge—damp but not soggy.
**Can I make leaf mold in full sun?**
Shade is preferable as it helps retain moisture, but leaf mold will still form in sunny locations if kept consistently moist.
**What container size do I need for leaf mold?**
A 1m/3ft square wire enclosure or 3-4 large plastic bags will handle leaves from an average garden.
**How much space should I leave between leaf mold piles?**
Leaf mold piles can be placed directly adjacent to each other as they don’t generate significant heat.
**How cold-tolerant is the leaf mold process?**
The process continues year-round but slows during cold weather; freezing won’t harm the pile.
**How can I tell when my leaf mold is ready to use?**
Finished leaf mold is dark brown to black, crumbly, and smells earthy—leaves should no longer be recognizable as leaves.
**Can I mix leaves with other materials?**
Yes, but for true leaf mold, use predominantly leaves. Adding small amounts of nitrogen-rich materials can speed decomposition.