
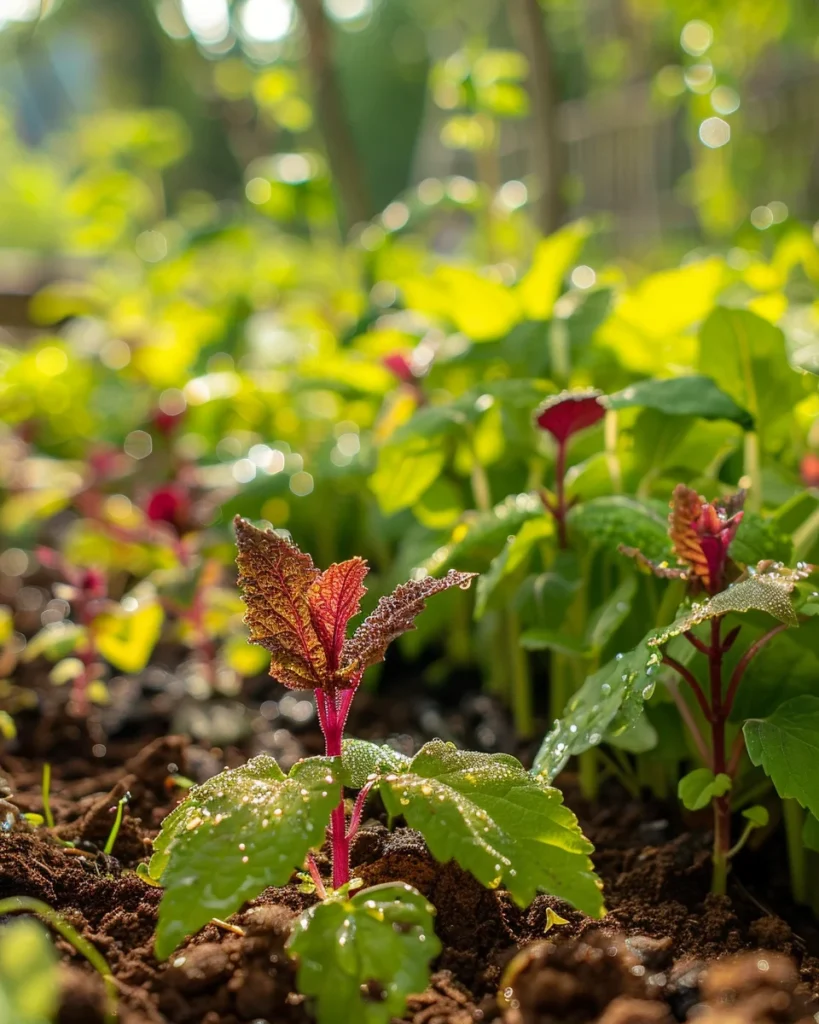
How to Grow Amaranth for Grain and Greens: When to Plant, Best Varieties & Care Guide
Intro for how to grow amaranth for grain and greens
Amaranth is a versatile, ancient crop that offers both nutritious greens and protein-rich grain from the same plant. This striking plant, with its vibrant colors ranging from deep burgundy to bright green, can grow up to 2 meters (6 feet) tall and produces thousands of tiny seeds per plant. Rich in lysine, fiber, and minerals, amaranth is both ornamental and highly nutritious. It thrives in warm weather and full sun, making it ideal for summer gardens across most temperate regions. Whether you’re looking to harvest the young leaves for salads and stir-fries or collect the seeds for grain, amaranth is a low-maintenance addition to any garden that offers exceptional nutritional benefits.
When to plant how to grow amaranth for grain and greens
Amaranth is a warm-season crop that requires soil temperatures of at least 15°C (60°F) to germinate properly. It’s extremely frost-sensitive, so planting should occur after all danger of frost has passed in your region. In most temperate areas, this means waiting until late spring when nighttime temperatures consistently stay above 10°C (50°F). For those in Mediterranean or subtropical climates, you can start earlier, while northern gardeners should wait until soil has thoroughly warmed. Amaranth can tolerate hot weather extremely well, making it perfect for summer growing when many other greens struggle.
Best time to plant how to grow amaranth for grain and greens
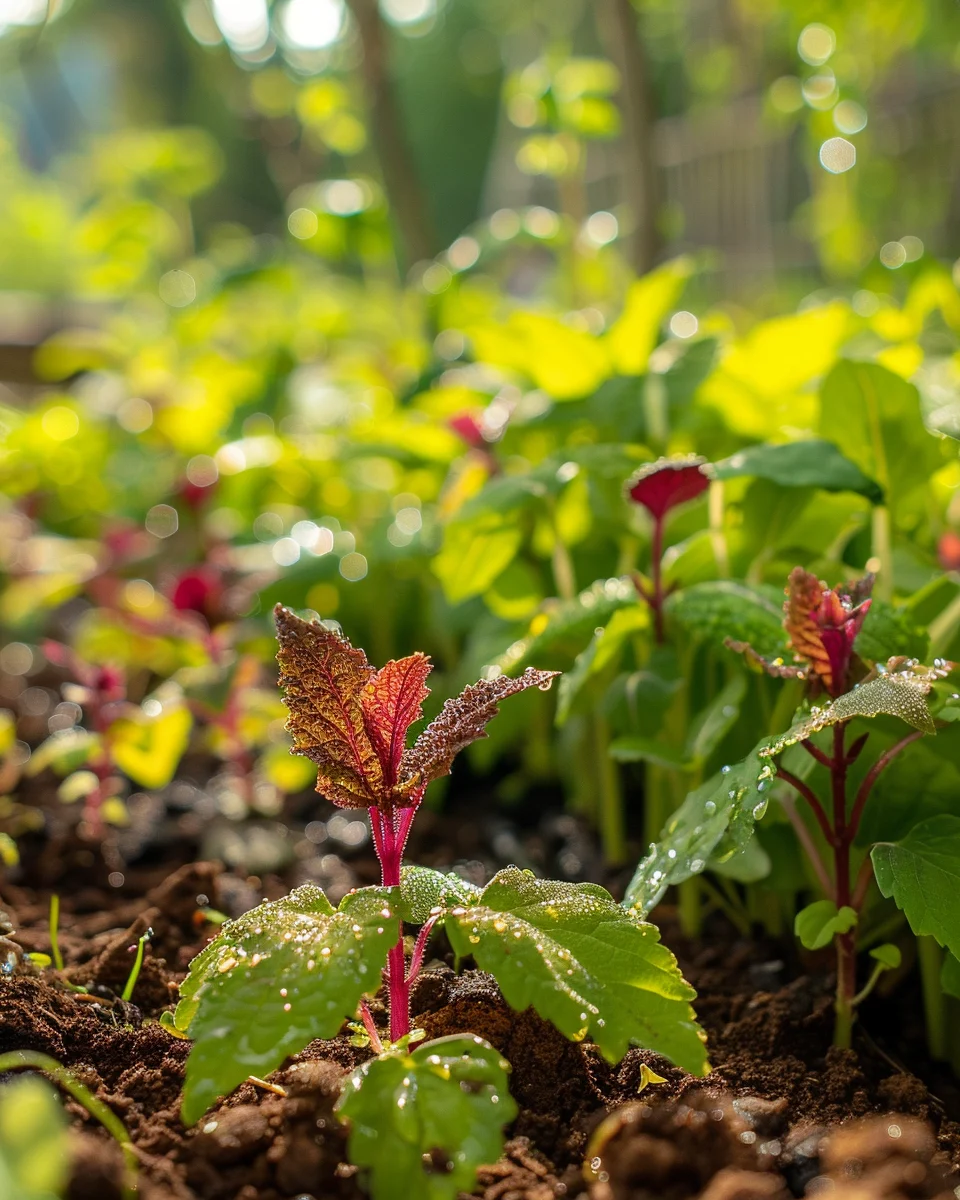
For cool temperate regions (UK, Northern US, Canada), direct sow amaranth from mid-May through early June when soil has reliably warmed. In warmer regions (US Zones 7-9), you can plant from April through July. For hot climates (US Zones 10-11), February through April plantings work well for spring harvests, with a second planting possible in September for fall harvests.
If starting indoors for transplanting, sow seeds 3-4 weeks before your last frost date. Transplant seedlings outdoors when they’re 7-10 cm (3-4 inches) tall and after all danger of frost has passed. For a continuous harvest of young greens, stagger plantings every 2-3 weeks throughout the growing season.
Best how to grow amaranth for grain and greens varieties to grow
- Amaranthus cruentus ‘Red Garnet’ – Stunning burgundy foliage with excellent flavor as greens and high grain yields.
- Amaranthus hypochondriacus ‘Golden Giant’ – Produces large golden seed heads, ideal for grain production with yields up to 1 pound per plant.
- Amaranthus tricolor ‘Joseph’s Coat’ – Spectacular multicolored leaves in red, yellow and green; primarily grown for tender greens.
- Amaranthus caudatus ‘Love-Lies-Bleeding’ – Dramatic cascading red flower tassels, good for both ornamental value and edible leaves.
- Amaranthus cruentus ‘Hopi Red Dye’ – Traditional variety with deep red seedheads and leaves; excellent for both grain and greens.
- Amaranthus tricolor ‘Callaloo’ – Caribbean variety grown specifically for its tender, spinach-like greens that resist bolting in heat.
- Amaranthus hypochondriacus ‘Plainsman’ – Early-maturing grain variety that’s more drought-tolerant than most, good for northern gardens.
How to plant how to grow amaranth for grain and greens
Materials needed:
- Amaranth seeds
- Garden fork or tiller
- Compost or aged manure
- Balanced organic fertilizer
- Watering can or hose with gentle spray attachment
- Row markers
- Measuring tape or ruler
Step-by-step planting guide:
- Select a site that receives full sun (6-8 hours daily) with well-draining soil.
- Prepare the soil by removing weeds and working in 5-7 cm (2-3 inches) of compost to improve fertility and drainage.
- Rake the soil surface smooth, creating a fine seedbed.
- For grain production, create rows 45-60 cm (18-24 inches) apart. For primarily greens, rows can be closer at 30-45 cm (12-18 inches).
- Sow seeds very shallowly, just 0.6-1.2 cm (¼-½ inch) deep, as amaranth seeds are tiny and need light to germinate.
- Space seeds about 10-15 cm (4-6 inches) apart, then thin later to 20-30 cm (8-12 inches) for grain production or 15-20 cm (6-8 inches) for greens.
- Water gently with a fine spray to avoid displacing the small seeds.
- Keep soil consistently moist until germination, which typically occurs in 7-14 days depending on soil temperature.
- Once seedlings reach 5-7 cm (2-3 inches) tall, thin to final spacing, saving the thinnings for your first greens harvest.
How to grow how to grow amaranth for grain and greens
Sunlight requirements: Amaranth needs full sun to thrive and produce maximum grain yields. Aim for at least 6-8 hours of direct sunlight daily. In very hot climates, light afternoon shade can be beneficial for greens production.
Watering schedule: Water regularly during the establishment phase, keeping soil evenly moist but not waterlogged. Once established, amaranth is relatively drought-tolerant but produces better with consistent moisture. Water deeply once a week, providing about 2.5 cm (1 inch) of water. Increase frequency during extreme heat or drought conditions.
Fertilizing: Amaranth is not a heavy feeder. Apply a balanced organic fertilizer (like 5-5-5) at planting time. For greens production, a nitrogen-rich side dressing midway through the season can boost leaf growth. For grain production, avoid excess nitrogen which can delay flowering and seed production.
Mulching: Apply a 5 cm (2 inch) layer of organic mulch around plants once they’re established to conserve moisture, suppress weeds, and regulate soil temperature.
Thinning/pruning: Thin seedlings to their final spacing when they reach 5-7 cm (2-3 inches) tall. For continuous greens production, regularly harvest the top few inches of growth and side shoots to encourage bushier growth.
Support: Tall grain varieties may need staking in windy areas. Use bamboo stakes or create a support system with twine for plants that exceed 1.5 meters (5 feet).
Container growing: Choose containers at least 30 cm (12 inches) deep and wide for individual plants. Use high-quality potting mix with 20% compost added. Container-grown amaranth will need more frequent watering and feeding. Select more compact varieties like ‘Hopi Red Dye’ or ‘Red Garnet’ for container culture.
Caring for how to grow amaranth for grain and greens
Ongoing tasks: Regular weeding is important, especially when plants are young. Once established, amaranth’s rapid growth helps shade out competing weeds. Monitor soil moisture during dry spells and water as needed. For greens production, harvest regularly to encourage new growth and prevent flowering.
Pests and diseases: Amaranth is relatively pest-resistant, but can occasionally suffer from:
- Flea beetles: Tiny holes in leaves; control with row covers or diatomaceous earth.
- Aphids: Look for curled leaves and sticky residue; spray with strong water jet or insecticidal soap.
- Leaf miners: Tunnels within leaves; remove affected leaves and encourage beneficial insects.
- Damping off: Seedling disease; prevent with good air circulation and avoid overwatering.
Harvesting greens: Begin harvesting young leaves when plants reach 15-20 cm (6-8 inches) tall, about 3-4 weeks after planting. Take outer leaves first or cut the top 7-10 cm (3-4 inches) of growth, leaving at least 5 cm (2 inches) of stem for regrowth. Morning harvests provide the best flavor.
Harvesting grain: Seeds are ready to harvest when they feel hard and the flower heads begin to dry and drop seeds when touched. This typically occurs 90-120 days after planting. Cut entire seed heads and hang upside down in paper bags to catch falling seeds. Once completely dry, rub seed heads between hands or against a fine screen to separate seeds from chaff.
Storage: Fresh greens will keep in the refrigerator for 3-5 days in a plastic bag with a paper towel to absorb moisture. Grain should be thoroughly dried before storing in airtight containers in a cool, dark place, where it will keep for 6-12 months.
Understanding bolting in how to grow amaranth for grain and greens
Bolting refers to the plant’s transition from vegetative (leaf) growth to reproductive (flowering and seed) growth. Unlike many greens where bolting is undesirable, with amaranth it’s a natural part of the growth cycle if you’re growing for grain. However, bolting does make the leaves more bitter and less tender.
The primary triggers for bolting in amaranth include:
- Long daylight hours (photoperiod sensitivity)
- High temperatures consistently above 30°C (86°F)
- Plant maturity (most varieties naturally flower after 40-60 days)
- Drought stress or irregular watering
To delay bolting when growing primarily for greens:
- Choose varieties specifically bred for leaf production like ‘Callaloo’ or ‘Joseph’s Coat’
- Provide consistent moisture and avoid drought stress
- Harvest regularly to encourage continued leaf production
- Plant in partial shade in very hot climates
- Make succession plantings every 2-3 weeks for continuous harvest
If your amaranth does bolt and you’re growing for greens, you can still harvest the young leaves from the sides of the plant, which remain tender longer than the main stem leaves. Alternatively, let the plant complete its lifecycle and harvest the seeds for grain.
Why does how to grow amaranth for grain and greens turn bitter?
- Age: Older, mature leaves naturally develop more bitterness; harvest leaves when young and tender.
- Heat stress: Extreme temperatures above 35°C (95°F) can increase bitterness; provide afternoon shade in very hot climates.
- Bolting: Once plants begin flowering, leaves become more bitter; harvest leaves regularly before flowering begins.
- Drought: Water stress increases bitter compounds; maintain consistent soil moisture.
- Variety selection: Some varieties naturally have stronger flavors; choose varieties specifically bred for leaf production if bitterness is a concern.
Companion planting for how to grow amaranth for grain and greens
Good companions:
- Onions and garlic: Help deter aphids and other pests that might attack amaranth.
- Marigolds: Repel nematodes and other soil pests while attracting beneficial insects.
- Sweet corn: Provides partial shade for amaranth in very hot climates and both are traditional companion crops in Three Sisters planting.
- Bush beans: Fix nitrogen in the soil that can benefit amaranth growth.
- Nasturtiums: Act as trap crops for aphids, protecting your amaranth.
Plants to avoid:
- Potatoes: Compete for nutrients and can increase disease pressure.
- Other amaranth varieties: Planting different varieties too close together can result in cross-pollination, which is problematic if you’re saving seeds.
- Aggressive spreaders: Mint, Jerusalem artichokes, and other aggressive plants can overwhelm amaranth seedlings.
Seasonal calendar
- February-March: Start seeds indoors in cold regions; direct sow in warm regions (Zones 9-11).
- April-May: Direct sow in most temperate regions after last frost; transplant indoor-started seedlings.
- June-July: Continue succession planting for greens; thin established plants; begin harvesting greens.
- August: Monitor for flowering and seed development; continue greens harvest; provide support for tall plants if needed.
- September-October: Begin grain harvest as seed heads mature; continue final greens harvests.
- November: Complete grain harvest before heavy frosts; clean and dry seeds for storage.
Adjustments: In hot regions (Zones 10-11), start earlier (January-February) and consider a fall planting. In cool regions (Zones 3-5), focus on the June-September growing window and choose faster-maturing varieties.
Problems & solutions
| Problem | Quick Fix |
|---|---|
| Poor germination | Ensure soil temperature is above 15°C (60°F); sow seeds very shallowly as they need light to germinate. |
| Leggy seedlings | Provide more direct sunlight; reduce watering frequency; ensure adequate spacing between plants. |
| Yellowing leaves | Check for overwatering; apply balanced organic fertilizer; ensure plants receive full sun. |
| Leaf holes/damage | Look for flea beetles or caterpillars; apply diatomaceous earth or use row covers. |
| Plants falling over | Stake tall plants; reduce nitrogen fertilizer; ensure plants aren’t overcrowded. |
| Birds eating seeds | Cover seed heads with lightweight mesh bags or harvest promptly when seeds begin to mature. |
| Slow growth | Check soil fertility; ensure adequate sunlight (6+ hours); maintain consistent moisture. |
Common questions about growing how to grow amaranth for grain and greens
Q: How often should I water my amaranth plants?
A: Water deeply once a week, providing about 2.5 cm (1 inch) of water. During hot, dry periods, increase to twice weekly. Container plants may need daily watering in summer.
Q: How much sun does amaranth need?
A: Amaranth thrives in full sun, requiring at least 6-8 hours of direct sunlight daily for optimal growth and grain production. In very hot climates, light afternoon shade can benefit greens production.
Q: What size container works for growing amaranth?
A: Use containers at least 30 cm (12 inches) deep and wide for individual plants. For multiple plants, choose containers 45-60 cm (18-24 inches) wide with similar depth.
Q: How far apart should I space amaranth plants?
A: For grain production, space plants 20-30 cm (8-12 inches) apart in rows 45-60 cm (18-24 inches) apart. For greens, plants can be spaced closer at 15-20 cm (6-8 inches) apart.
Q: Can amaranth survive frost?
A: No, amaranth is extremely frost-sensitive. Even light frosts can damage or kill plants. In cold regions, harvest before first fall frost.
Q: How often can I harvest amaranth greens?
A: You can harvest young leaves every 1-2 weeks. For cut-and-come-again harvesting, remove the top 7-10 cm (3-4 inches) of growth, leaving at least 5 cm (2 inches) of stem for regrowth.
Q: How do I know when amaranth grain is ready to harvest?
A: Seeds are ready when they feel hard and dry, and fall easily from the seed head when touched or rubbed. The flower heads will begin to dry and change from vibrant to more muted colors, typically 90-120 days after planting.