
A practical guide to four reliable cleaning methods—quick wipes to deep cleans—so your cabinets stay fresh, bright, and protected.
Wood cabinets can look stunning for years, but they also show grime fast. Dust settles. Grease splatters during cooking. Spills happen. Before you know it, cabinet doors and handles start to feel sticky or look cloudy.
Cleaning isn’t just about appearance. Regular care helps prevent dirt buildup that can make wood look tired over time, and it supports the overall upkeep of your home. The good news: you have options. You can use a commercial product (like Murphy’s Oil Soap) or simple household ingredients you likely already have.
Below are four effective ways to clean wood cabinets, plus tips to help you avoid common mistakes and protect the finish.
Why Keeping Wood Cabinets Clean Matters
Cabinets are some of the most touched surfaces in a home, especially in the kitchen where daily traffic is high. Even if your counters are spotless, dusty cabinet frames, greasy door fronts, and grimy corners can make the whole space feel less cared for.
Frequent light cleaning also makes deeper cleaning easier. When mess is addressed early, you won’t have to scrub as hard later, and you’re less likely to risk scraping or stressing the varnish or finish during a major cleanup.
Method 1: Furniture Wipes for Fast, Consistent Cleaning
Furniture wipes are one of the simplest ways to keep wooden cabinets looking clean on a day-to-day basis. They’re convenient, they’re easy to store, and they’re useful for quick touch-ups as well as part of a deeper routine.
When furniture wipes work best
Wipes are ideal when your cabinets have light dust, minor fingerprints, or small splatters that you want to remove quickly. They’re also helpful when you’re doing a weekly reset and want to get through surfaces efficiently.
A practical routine to follow
- Start at the top cabinets and work downward so dust doesn’t fall onto already-cleaned doors.
- Wipe along door fronts, edges, and around handles where hands leave the most residue.
- Flip the wipe as it gets dirty to avoid spreading grime across the finish.
- Do a final pass on the cabinet frames and the area around knobs and pulls.
Product note
Murphy’s has a well-known line of wood cleaning products. If you’re using their wipes, the Murphy’s soft wipes are a convenient option designed for wood surfaces and are generally easy to use without harming wood furniture.
Daily or frequent wipe-downs help maintain the appearance of wooden cabinets and make weekly cleaning feel much lighter.
Method 2: Toothbrush and Spray Bottle for Crevices and Corners
Sometimes wipes alone don’t reach the trouble spots. Cabinet doors often have corners, grooves, crevices, and areas around hardware where residue collects. That’s where a toothbrush and a spray bottle come in.
What this method is best for
Use this approach when you notice buildup in tight areas—like along trim, inside recessed panels, around decorative edges, or where the cabinet meets the frame. A toothbrush gives you control and gets into spaces a cloth can’t.
Step-by-step: how to do it
- Pre-clean first. Remove loose dust and surface mess with a furniture wipe (or another gentle wipe) so you’re not pushing excess grime into corners.
- Prep your spray. Fill a spray bottle with water, or use a light mix of water and Murphy’s Oil Soap (not too much soap).
- Target the crevices. Lightly spray directly into the crevices or onto the area you’re working on.
- Brush gently. Use a toothbrush to loosen dirt from corners, grooves, and tight spaces.
- Wipe away residue. Finish by wiping the area with a furniture wipe to remove anything lifted out of the crevices.
Mini-point: be careful with pressure
Use a light hand. The goal is to lift out trapped mess, not scrub aggressively. Gentle brushing is usually enough once the area is lightly misted.
This is a simple upgrade to basic wipe-downs and can make older cabinets look dramatically cleaner, especially around handles and detailed trim.
Method 3: Vinegar and Water for Grease and Odors
Vinegar is a practical substitute for soap when cleaning wooden cabinets. It helps cut grease and can remove odors, which makes it especially useful in kitchens where cooking residue builds up.
How to mix it
If the cabinet surfaces are greasy, dilute vinegar with an equal amount of water. This gives you a straightforward cleaning solution using common household ingredients.
How to use the vinegar-and-water method
- Spray the solution directly onto the area with the mess.
- Let it sit for a minute or two so it can penetrate the residue.
- Wipe with a furniture wipe or a damp sponge to remove the loosened dirt and grease.
Optional variation: oil and vinegar
An oil and vinegar solution can also be used to clean and protect wood cabinets. If you choose this route, keep your application controlled and wipe evenly so the finish looks consistent.
If you’re trying to avoid buying a dedicated wood cleaner, vinegar and water is often the easiest place to start because the ingredients are usually already in your home.
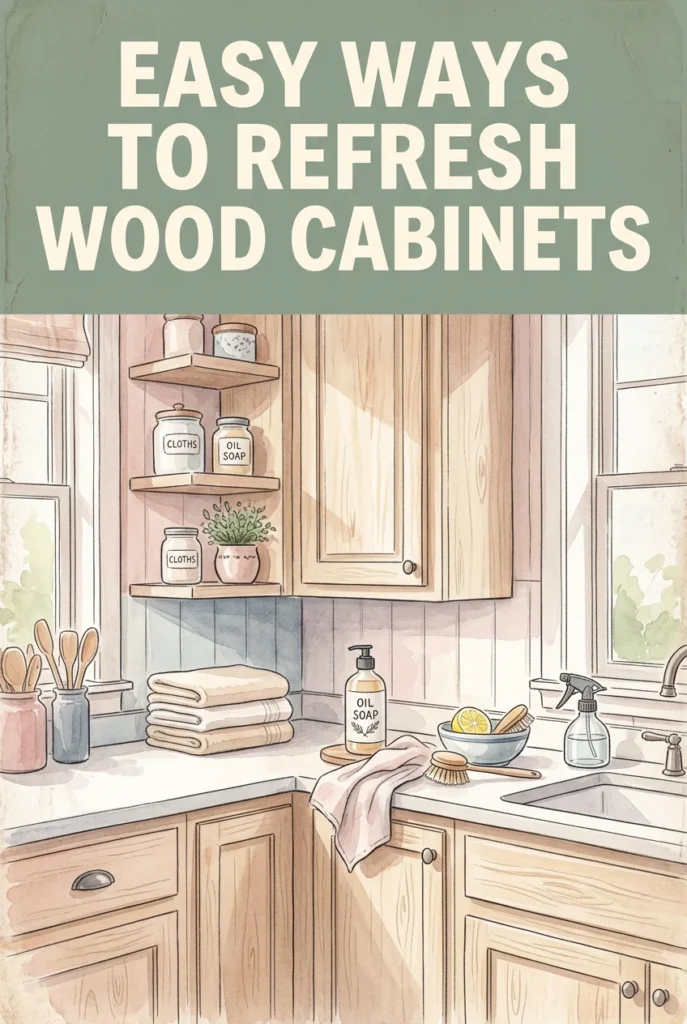
Method 4: Oil Soap Deep Clean (Every Two Weeks or More)
Deep cleaning helps lift baked-in dirt and can condition the wood. You can deep clean your cabinets every two weeks or more, depending on how quickly your kitchen collects grease and dust. Some people also choose to apply wax each time based on how often they deep clean.
Oil soap is a popular choice for this kind of reset because it’s generally gentle on wood surfaces and leaves a fresh scent.
What you’ll need
- Murphy’s Oil Soap
- A soft cloth
- Fresh water
Step-by-step: deep cleaning with oil soap
- Mix gently. Dissolve 1 tablespoon of Murphy’s Oil Soap in water.
- Apply with care. Using a soft cloth, apply the solution in light circular motions so you don’t scrape the varnish.
- Reach the details. Take time around handles, along edges, and into cracks where buildup hides.
- Rinse the residue away. Moisten the cloth with fresh water and wipe away the soap thoroughly.
Important: test first
Before using any oil soap, test it on an inconspicuous spot. If the area becomes cloudy or white, the product may cause damage. Murphy’s Oil Soap is usually quite safe and is commonly used to clean and protect wood, but a quick test helps you avoid surprises.
Tips for Better Results (and Less Work Later)
- Clean frequently. Regular upkeep prevents heavy buildup and keeps cabinets looking brighter.
- Start with the least aggressive method. Wipes for light mess, then move to targeted brushing or a deeper wash only as needed.
- Focus on high-touch areas. Handles, corners, and the cabinets nearest the stove often need the most attention.
- Don’t overload soap. If you use an oil soap mixture, keep it light—too much product can leave residue that attracts more dirt.
- Always wipe off what you apply. Whether it’s vinegar solution or oil soap, leaving residue behind can dull the finish over time.
- Be mindful of unfinished wood. If cabinets haven’t been coated with varnish, they may absorb certain polishes and ingredients and can look dull more quickly.
- Consider wax-based polish for shine. For cabinets that look dull after cleaning—especially unfinished or absorbent wood—a wax-based polish can help keep them looking shiny and bright.
Quick Choosing Guide: Which Method Should You Use?
| Situation | Best option | Why it helps |
|---|---|---|
| Light dust, quick touch-ups | Furniture wipes | Fast, convenient, good for routine maintenance |
| Grime in grooves, corners, around handles | Toothbrush + spray bottle | Reaches crevices and lifts trapped mess |
| Greasy buildup and lingering cooking odors | Vinegar + water | Cuts grease and helps remove odors |
| Baked-in dirt and overall refresh | Oil soap deep clean | Lifts heavier buildup and supports wood care |
Bottom Line: Keep It Simple, Keep It Consistent
Wood cabinets get dirty easily, but staying ahead of buildup makes a noticeable difference in how your kitchen (and your home) feels. Use furniture wipes to maintain cleanliness, bring in a toothbrush and spray bottle when corners need attention, reach for vinegar and water when grease is the problem, and schedule an oil soap deep clean every two weeks or more for a full reset.
Choose the method that fits the mess, work gently to protect the finish, and test products in a hidden spot when needed. With a consistent routine, your cabinets can stay clean, protected, and good-looking for the long run.