
How to Make DIY Banana Peel Fertilizer for Bigger, Stronger Plants: Homemade Organic Solutions for Garden Success
Intro for DIY Banana Peel Fertilizer
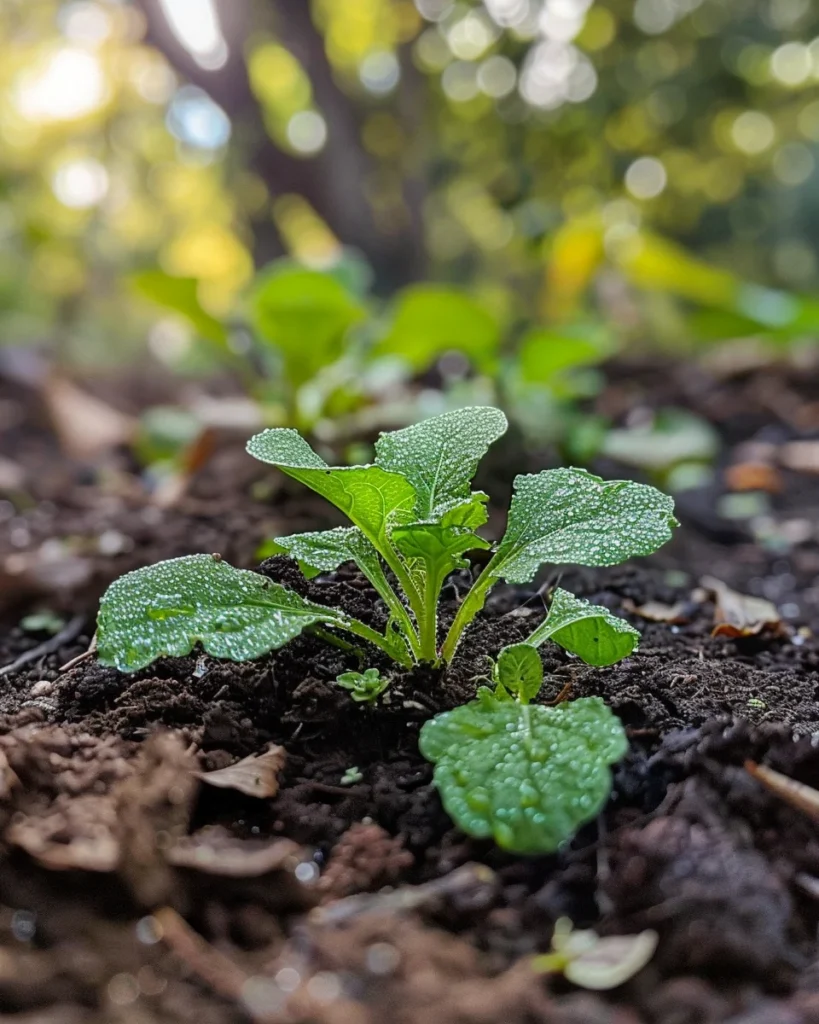
DIY banana peel fertilizer is a game-changing organic solution for gardeners seeking bigger, stronger plants without commercial chemicals. This homemade fertilizer harnesses the potassium, phosphorus, and calcium naturally present in banana peels to promote robust root development, enhance flowering, and strengthen plant cell walls. Perfect for everything from houseplants to vegetable gardens, this cost-effective fertilizer works in all growing zones and soil types. By repurposing kitchen waste you’d otherwise discard, you’ll not only nourish your plants but also reduce household waste and embrace sustainable gardening practices that benefit both your plants and the environment.
When to use DIY Banana Peel Fertilizer
DIY banana peel fertilizer can be applied throughout the growing season in most temperate regions. For optimal results, begin applications when soil temperatures consistently reach 10-15°C (50-60°F) in spring. In cooler climates (UK, Northern US, Canada), start applications from mid-spring through early autumn. In warmer regions (US Zones 8-10, Mediterranean climates), you can apply year-round with reduced frequency during extreme heat periods. Avoid applying during frost periods or when plants are dormant, as nutrients won’t be effectively utilized during these times.
Best time to apply DIY Banana Peel Fertilizer
For most plants, apply banana peel fertilizer every 4-6 weeks during the active growing season. In cool-climate regions, begin applications in April-May and continue through September. Warm-climate gardeners can apply from February through November with reduced summer applications. For flowering plants, increase application frequency slightly before and during bloom periods. Fruiting plants benefit from applications when setting fruit. Always apply banana peel fertilizer to moist soil, ideally in the morning or evening rather than during peak sun hours, and water thoroughly afterward to help nutrients reach the root zone.
Best DIY Banana Peel Fertilizer varieties to make
- Banana Peel Tea – Liquid fertilizer perfect for houseplants and seedlings due to its gentle, immediately available nutrients.
- Dried Banana Peel Powder – Slow-release option ideal for perennials and established garden beds that need sustained nutrition.
- Banana Peel Compost Booster – Adds valuable potassium to compost piles, accelerating decomposition and enhancing the final product.
- Banana Peel Direct Burial – Simple method for targeted feeding of heavy feeders like roses and tomatoes with minimal preparation.
- Banana Peel Fermentation – Creates potent liquid fertilizer with beneficial microorganisms for enhancing soil biology.
- Banana-Eggshell Combination – Blends potassium from bananas with calcium from eggshells for complete nutrition for fruiting plants.
- Banana-Coffee Grounds Mix – Combines potassium with nitrogen from coffee grounds for balanced feeding of leafy greens and vegetables.
How to prepare DIY Banana Peel Fertilizer
Materials needed:
- 5-6 banana peels (organic preferred)
- 1-2 liter glass jar with lid
- Scissors or knife
- Water (dechlorinated or rainwater preferred)
- Strainer or cheesecloth
- Spray bottle or watering can
- Optional: coffee grinder or food processor (for powder method)
- Optional: brown paper bag (for drying method)
Step-by-step preparation:
- Collect banana peels from ripe, organic bananas (if possible) to avoid pesticide residues.
- Cut peels into small pieces (approximately 2.5 cm/1 inch) to accelerate the decomposition process.
- For banana peel tea: Place cut peels in a glass jar and fill with water, leaving 2.5 cm (1 inch) of headspace.
- Secure the lid loosely to allow gases to escape during fermentation.
- Store in a cool, dark location for 1-2 weeks, shaking gently every few days.
- When the liquid turns amber or tea-colored, strain out the solids using cheesecloth.
- Dilute the concentrated tea at a ratio of 1:5 (one part tea to five parts water).
- Transfer to a spray bottle or watering can for easy application.
- For powder method: Dry peels completely in the sun or low-temperature oven (60°C/140°F) until crisp.
- Grind dried peels into a fine powder using a coffee grinder or food processor and store in an airtight container.
How to apply DIY Banana Peel Fertilizer
Apply banana peel tea by watering plants at their base, using approximately 240 ml (1 cup) for small potted plants and 480-720 ml (2-3 cups) for larger garden plants. For outdoor gardens, apply in the early morning or late afternoon when sunlight is less intense. Most plants benefit from full sun exposure (6+ hours daily) after application, though shade-loving varieties should maintain their normal light conditions. Water plants normally between applications, allowing the top 2.5 cm (1 inch) of soil to dry before the next watering. For container plants, ensure pots have adequate drainage holes to prevent waterlogging after fertilizer application. When using the powder form, sprinkle 1-2 tablespoons around the plant’s drip line and gently work into the top 2.5 cm (1 inch) of soil, followed by thorough watering.
Caring for plants with DIY Banana Peel Fertilizer
While banana peel fertilizer provides excellent potassium, complement it with nitrogen sources (like coffee grounds or compost) for leafy plants and phosphorus sources for flowering plants. Monitor plants for nutrient deficiencies, which may appear as yellowing leaves (nitrogen deficiency) or poor flowering (phosphorus deficiency). Common pests like aphids can be managed with a simple soap spray (1 tablespoon mild dish soap per gallon of water). For fungal issues, improve air circulation around plants and avoid wetting foliage during watering. Harvest fruits and vegetables when ripe, as overripe produce can attract pests. Store unused banana peel tea in a cool, dark place for up to one month, or freeze in ice cube trays for longer storage and convenient application.
Understanding nutrient release in DIY Banana Peel Fertilizer
Banana peel fertilizer releases nutrients through decomposition, with liquid forms providing faster nutrient availability than solid forms. The decomposition process accelerates in warm, moist conditions and slows in cool temperatures. To prevent nutrient loss through leaching, especially in sandy soils, apply smaller amounts more frequently rather than large, infrequent applications. If plants show signs of excessive potassium (brown leaf edges, nutrient lockout), reduce application frequency and ensure balanced nutrition with other organic amendments. For slow-release benefits, incorporate dried banana peel pieces directly into soil when planting or transplanting.
Why does DIY Banana Peel Fertilizer turn dark?
- Natural fermentation – The darkening indicates beneficial microorganisms breaking down peels; this is normal and desirable.
- Oxidation process – Exposure to air causes compounds in banana peels to oxidize and darken; not harmful to plants.
- Tannin release – Tannins from peels leach into water, creating a tea-like appearance that’s rich in nutrients.
- Mold development – White mold on the surface indicates excessive fermentation; strain immediately and dilute before use.
- Nutrient concentration – Darker color generally indicates higher nutrient concentration; dilute properly before application.
Companion nutrients for DIY Banana Peel Fertilizer
- Coffee grounds – Adds nitrogen for leafy growth; balances the potassium from banana peels.
- Eggshells – Provides calcium to prevent blossom end rot in tomatoes and strengthen cell walls.
- Epsom salts – Supplies magnesium for chlorophyll production and improved nutrient uptake.
- Wood ash (small amounts) – Adds potassium and raises soil pH; use cautiously and avoid with acid-loving plants.
- Compost – Provides balanced nutrition and improves soil structure when used alongside banana peel fertilizer.
Avoid combining with:
- Chemical fertilizers – Can create nutrient imbalances and diminish beneficial microbial activity.
- Citrus peels – May introduce compounds that inhibit certain beneficial soil organisms.
- Dairy products – Can create unpleasant odors and attract pests when used outdoors.
Seasonal calendar
- Early Spring (March-April): Begin collecting and preparing banana peels; make first batch of tea for early season growth.
- Late Spring (May): Apply to transplants and established perennials; start direct feeding to heavy feeders like roses.
- Early Summer (June): Increase application frequency for flowering and fruiting plants; monitor for signs of nutrient deficiencies.
- Mid-Summer (July): Continue regular applications; consider supplementing with nitrogen sources for leafy vegetables.
- Late Summer (August): Apply to fall crops and perennials; begin drying peels for winter storage.
- Fall (September-October): Final applications to perennials before dormancy; incorporate banana peels into fall garden beds.
- Winter (November-February): Collect and dry peels; prepare powder for early spring use; continue applications to houseplants.
Problems & solutions
| Problem | Quick Fix |
|---|---|
| Foul smell from fermenting peels | Add a tablespoon of molasses to promote beneficial bacteria; ensure lid is loose for gas escape. |
| White mold on fermenting peels | Strain immediately, dilute more than usual (1:10), and use promptly; future batches should ferment for less time. |
| Plants showing leaf burn | Solution too concentrated; increase dilution ratio to 1:10 and water thoroughly after application. |
| Fruit flies attracted to peels | Cover container with fine mesh or cloth instead of solid lid; move to cooler location. |
| Plants not responding to fertilizer | Supplement with balanced nutrition; banana peels primarily provide potassium, not complete nutrition. |
| Dried peels not breaking down in soil | Grind into smaller pieces or powder; incorporate into compost first for pre-decomposition. |
| Liquid fertilizer growing algae | Store in opaque container away from light; use within one month or refrigerate. |
Common questions about using DIY Banana Peel Fertilizer
Q: How often should I apply banana peel fertilizer to my plants?
A: For most plants, apply every 4-6 weeks during the growing season. Flowering and fruiting plants may benefit from slightly more frequent applications (every 3-4 weeks) during bloom and fruit set.
Q: Can I use banana peel fertilizer on all types of plants?
A: While beneficial for most plants, use sparingly on plants that prefer acidic soil (like blueberries, azaleas, and rhododendrons) as banana peels can slightly raise soil pH over time.
Q: How long does banana peel fertilizer last in storage?
A: Liquid banana peel tea can be stored for up to one month in a cool, dark place. Dried banana peel powder can last 6-12 months when kept in an airtight container in a dry location.
Q: Is it better to use green or brown (ripe) banana peels?
A: Riper, brown peels are preferable as they contain higher concentrations of available nutrients and break down more quickly in soil or water.
Q: Can banana peel fertilizer burn plants?
A: When properly diluted (1:5 for most plants), banana peel tea shouldn’t burn plants. Always water after applying any form of the fertilizer to help distribute nutrients evenly.
Q: Do I need to use organic bananas for making fertilizer?
A: While not absolutely necessary, organic bananas are preferred to avoid introducing pesticide residues to your garden. If using conventional bananas, washing the peels thoroughly before use can help reduce residues.
Q: Can I add banana peels directly to my garden soil?
A: Yes, you can bury small pieces of banana peel 2-5 cm (1-2 inches) deep near plants. They’ll decompose slowly, providing a gradual release of nutrients, though this method works best in warm soil conditions.